
Creating a TLS Connection between Vodia and Telnyx

In this blog, we will guide you through the process of setting up a TLS connection between Vodia and Telnyx. Transport Layer Security (TLS) provides secure communication over the Internet, ensuring the confidentiality and integrity of data exchanged between the two systems. By following the steps outlined below, you can establish a secure connection for your SIP trunk.
Connecting with Telnyx
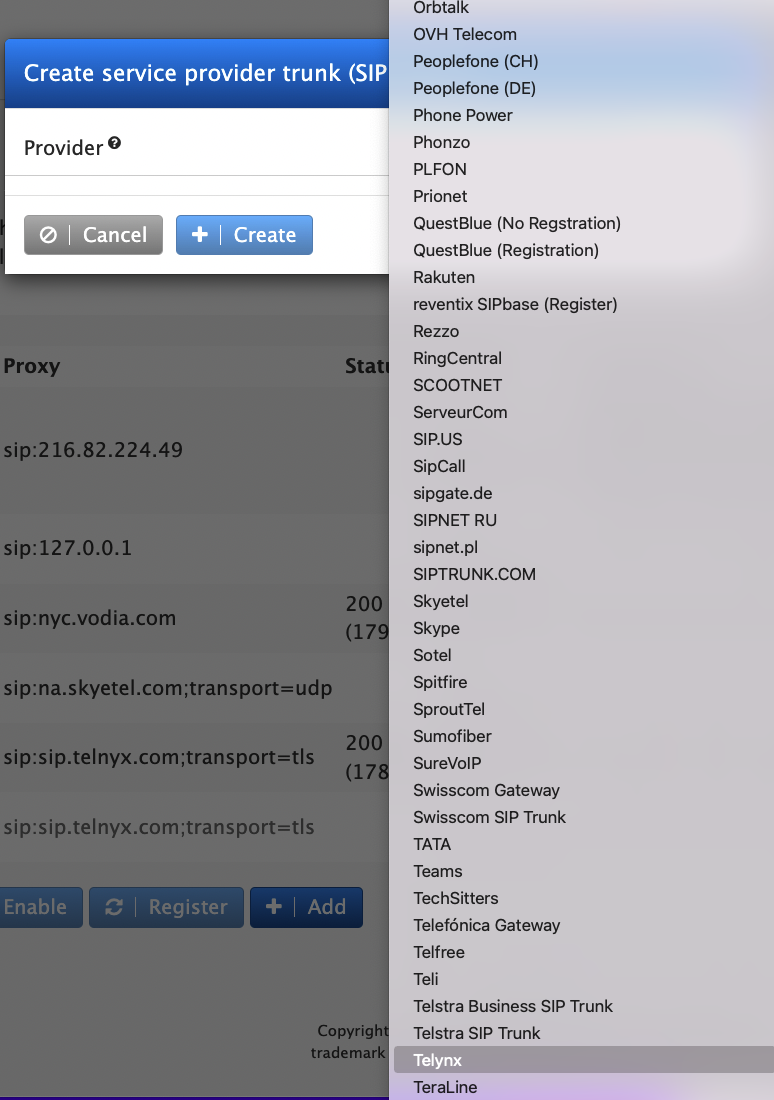
Create a SIP registration connection in Telnyx.
Step 1: Connecting with Telnyx
-
Create a SIP registration connection in Telnyx.
- Choose "Registration" as the type and copy your SIP password.
- This SIP password will be required when setting up the SIP trunk on the Vodia phone system.
- Save and finish the registration.
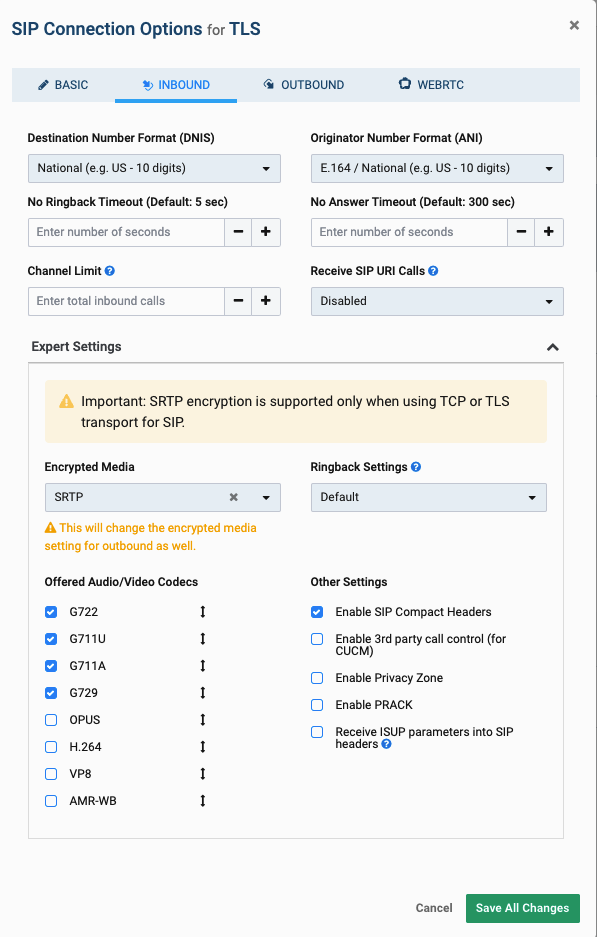
Edit the connection and enable SRTP (Secure Real-Time Transport Protocol) under "Encrypted Media."
- Save the configuration.
- Note: Outbound settings already utilize SRTP settings from the inbound.
Note: Outbound settings are already using SRTP settings from the inbound.
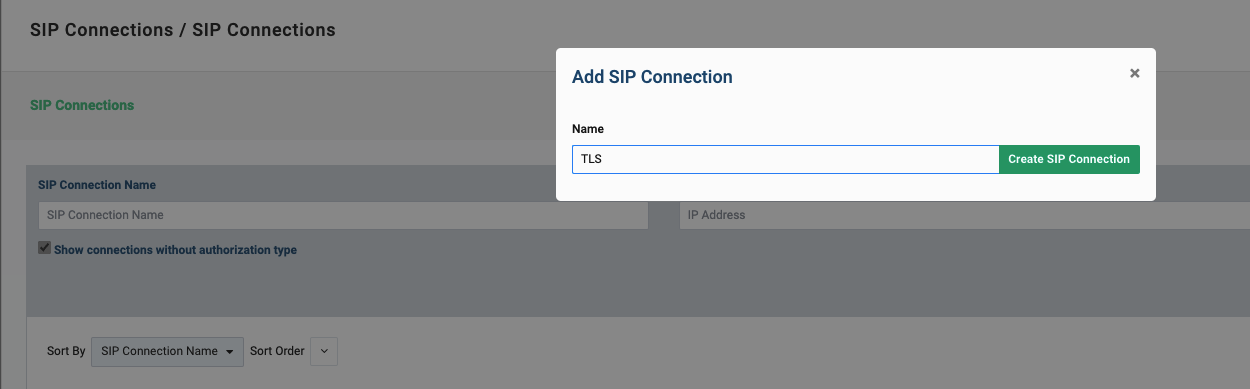
The Vodia phone system
Step 2: Configuring Vodia Phone System
-
Navigate to the SIP trunk to create your Telnyx connection in the Vodia phone system.
-
Click on "Add" and select "Telnyx."
-
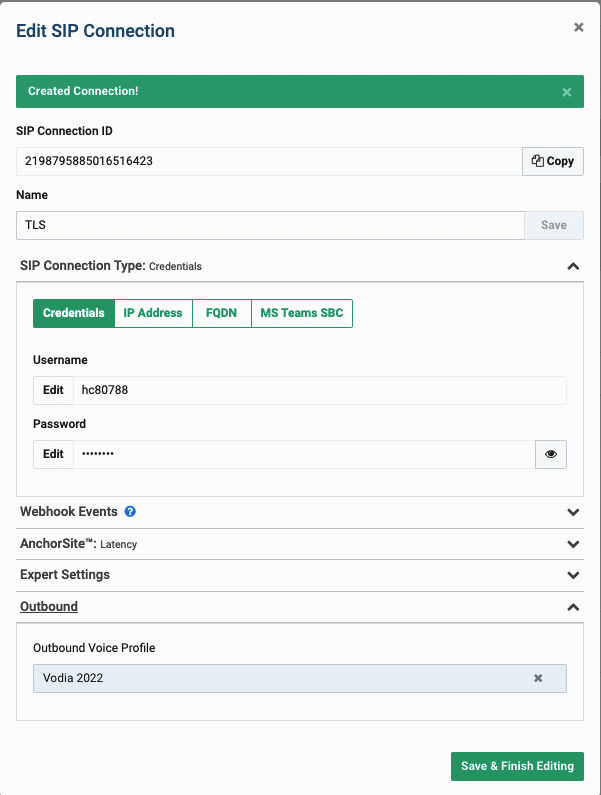
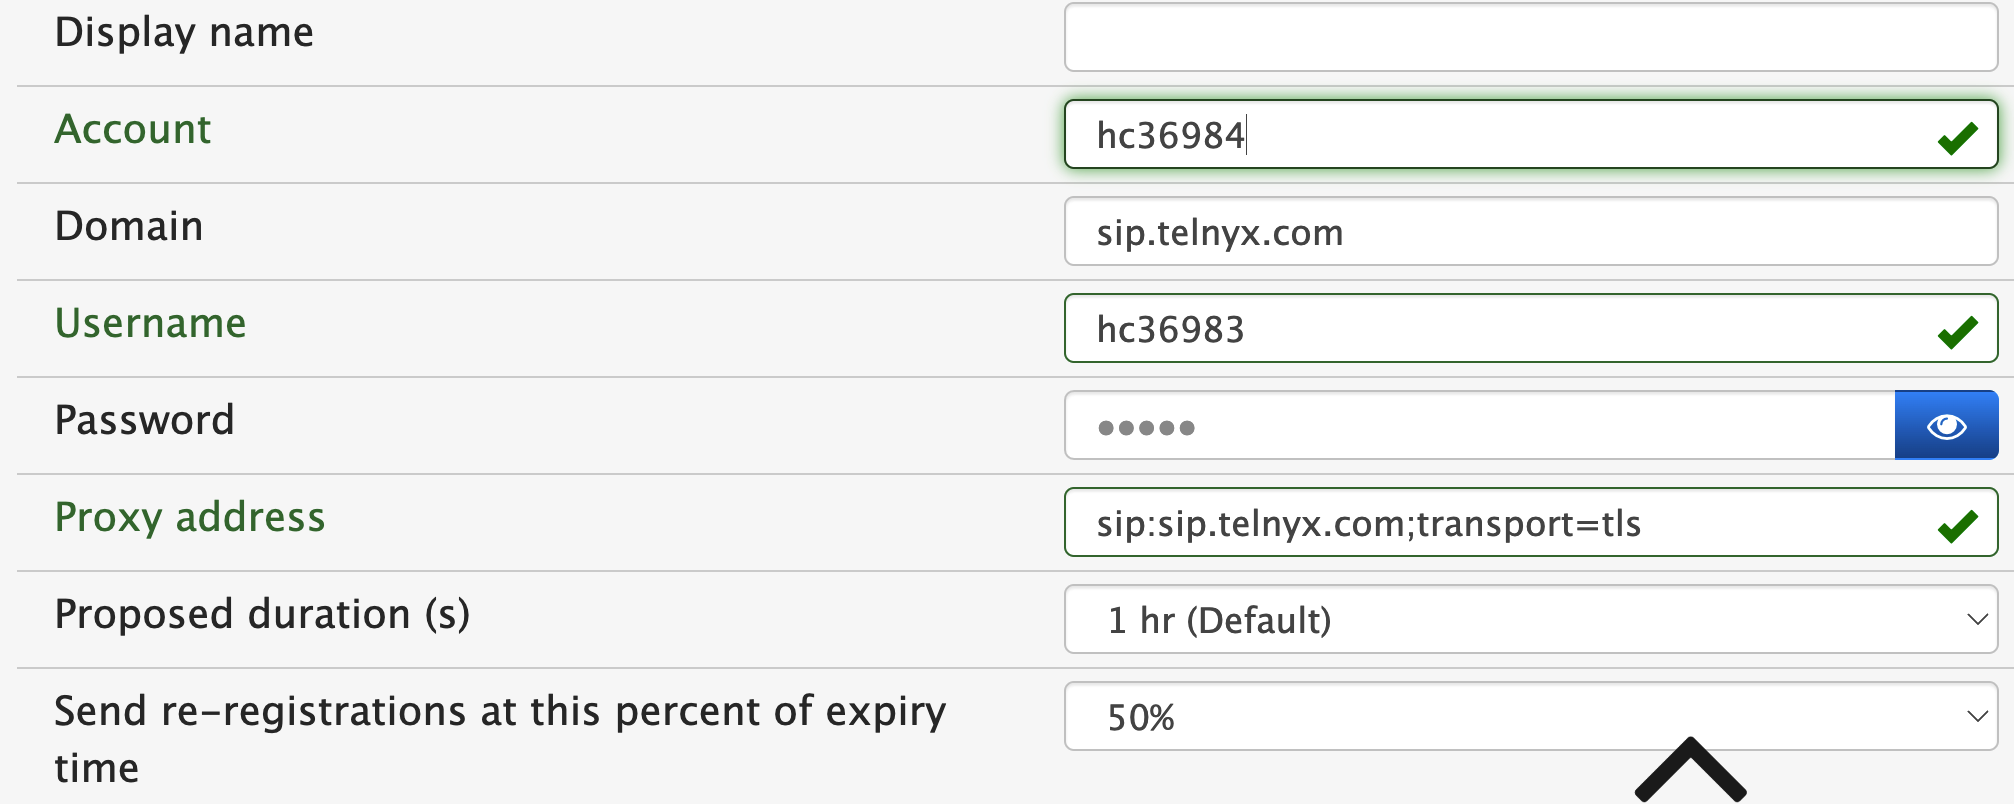
Enter your Telnyx SIP account details:
- Name: Provide a name for your trunk.
- Password: Enter your Telnyx SIP credentials.
- User: Enter your Telnyx user account.
- DID: If applicable, enter your Direct Inward Dialing (DID) number.
- Save the configuration.
-
Configure TLS under "Proxy Address" by using the following example:
- Proxy Address: sip:sip.telnyx.com;transport=tls
Navigate to the SIP trunk to create your Telnyx connection
Click on Add and choose Telnyx

Configure TLS under "Proxy Address" by using the following example:
- Proxy Address: sip:sip.telnyx.com;transport=tls
Caller ID and phone numbers
Step 3: Caller ID and Phone Numbers To define the Caller ID used when making calls from the Vodia system, follow these steps:
-
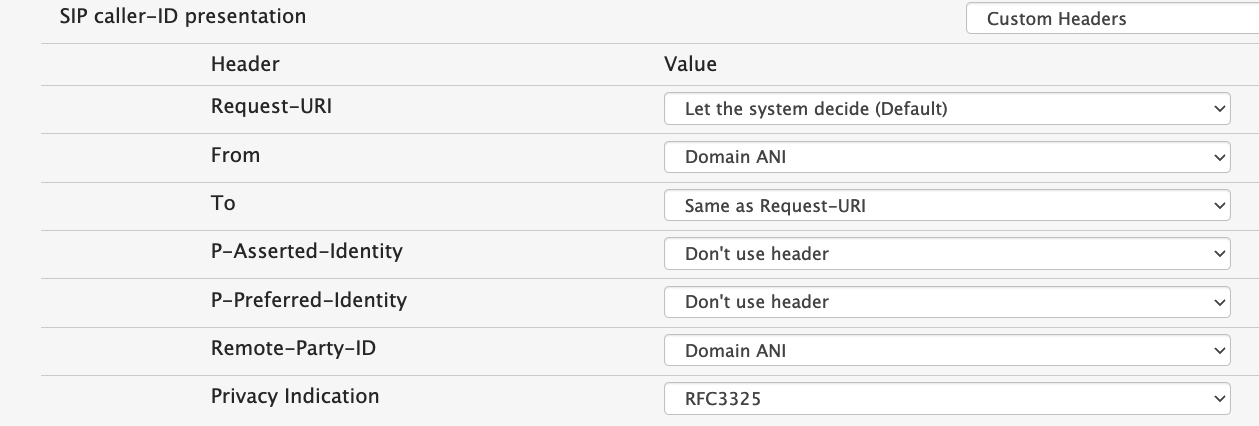
Define the FROM headers and Remote Party ID under the SIP caller-ID presentation.
- Choose "custom headers" from your Telnyx SIP trunk.
- For example, you can set up the Domain ANI in the Tenant general settings under "dom_settings.htm."
- Alternatively, you can set up an ANI on the extension and instruct the header to use "Extension ANI."
-
Save the settings.
More info about Vodia tenant level https://doc.vodia.com/docs/domain-overview
By following the above steps, you can establish a TLS connection between Vodia and Telnyx, ensuring secure and encrypted communication for your SIP trunk. This added layer of security helps protect your data and ensures the privacy of your calls. Implementing TLS is a crucial step in maintaining a secure communication infrastructure for your business.
Sample inbound show TLS
INVITE sip:9787368016@54.146.189.63:43296;transport=tls;line=02522a2b SIP/2.0 Record-Route: <sip:192.76.120.10:5061;transport=tls;r2=on;lr;ftag=jBpNrQtFDFegp> Record-Route: <sip:10.255.0.1:5061;transport=tls;r2=on;lr;ftag=jBpNrQtFDFegp> Record-Route: <sip:10.13.247.8:6051;transport=tls;r2=on;lr;tnx=461.748> Record-Route: <sip:10.13.247.8:6050;r2=on;lr;tnx=461.748>
Sample outbound show
INVITE sip:4001@96.237.116.94:65069;transport=tls;line=shb07dy9;wrtc=true SIP/2.0 Via: SIP/2.0/TLS 54.146.189.34:443;branch=z9hG4bK-0fda88b9200ab8e60062fc693972f2e8;rport