
Vodia PBX now available on AWS Marketplace

Vodia Cloud-based phone system on AWS Marketplace
Are you looking for a cloud-based phone system that is easy to deploy and manage? Look no further than Vodia PBX, now available on AWS Marketplace.
Vodia PBX is a versatile and feature-rich phone system that is designed to meet the needs of businesses of all sizes. With Vodia PBX, you can easily manage your phone system from anywhere, with a user-friendly web interface that allows you to configure and customize your system to meet your unique requirements.
With the availability of Vodia PBX on AWS Marketplace, deploying your phone system in the cloud has never been easier. Whether you're a small business looking for a cost-effective phone solution or a larger enterprise in need of a scalable and reliable phone system, Vodia PBX on AWS Marketplace can meet your needs.
Benefits of Vodia PBX on AWS Marketplace:
-
Easy to deploy: Vodia PBX can be deployed on AWS Marketplace in just a few clicks, making it easy to get up and running quickly.
-
Scalable: With Vodia PBX on AWS Marketplace, you can easily scale your phone system to meet the needs of your growing business.
-
Reliable: AWS Marketplace provides a reliable and secure platform for hosting your phone system, ensuring that your system is always up and running when you need it.
-
Flexible: With Vodia PBX on AWS Marketplace, you can choose the instance type that best meets your needs, ensuring that you have the resources you need to run your phone system.
-
Cost-effective: Vodia PBX on AWS Marketplace provides a cost-effective phone system solution that can help you save money on your phone system costs.
We will go step by step through how to set up the Vodia phone system correctly.
To deploy the Vodia Phone System
Follow this link AWS marketplace Vodia phone system
Deploying the Vodia phone system
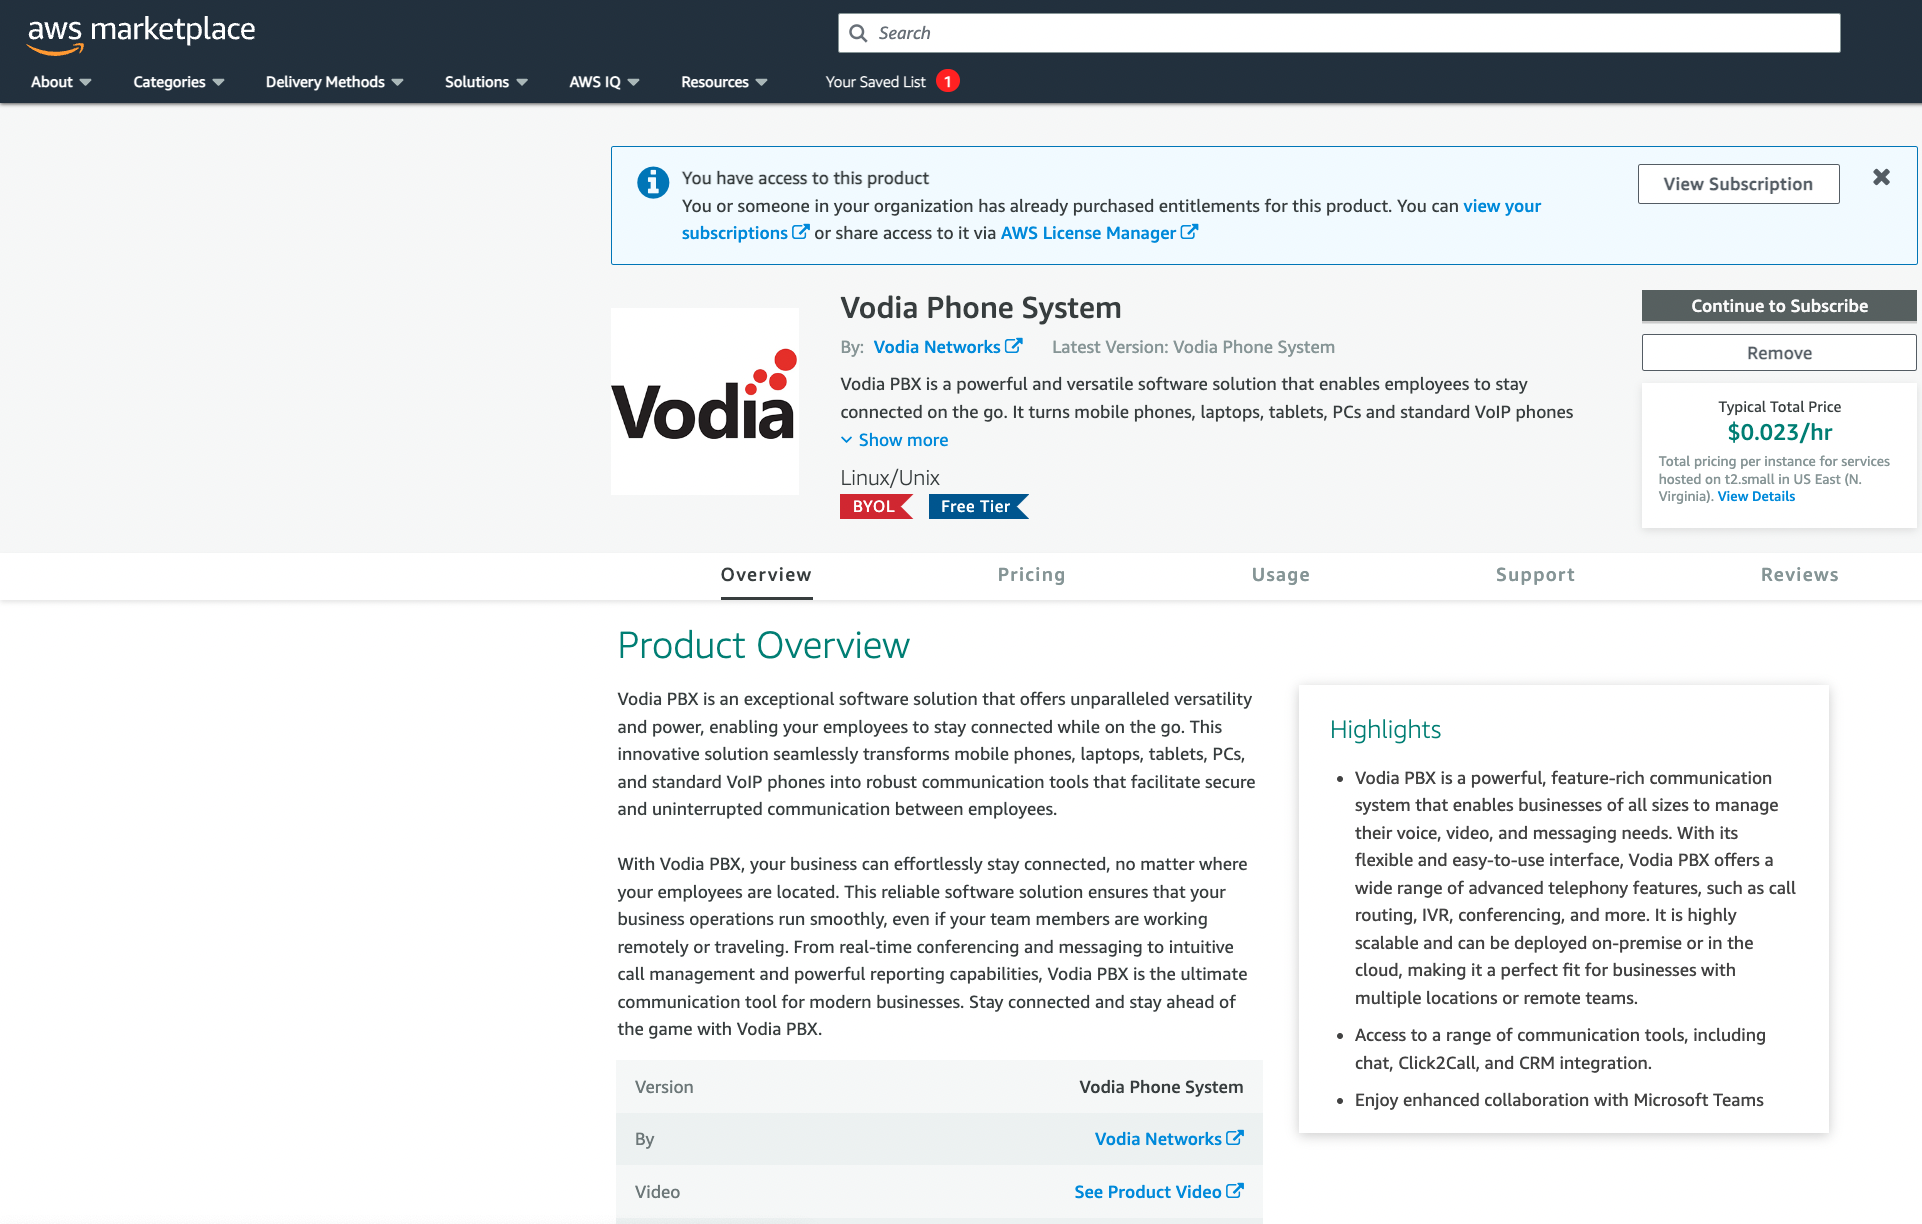
Click continue on subscribe
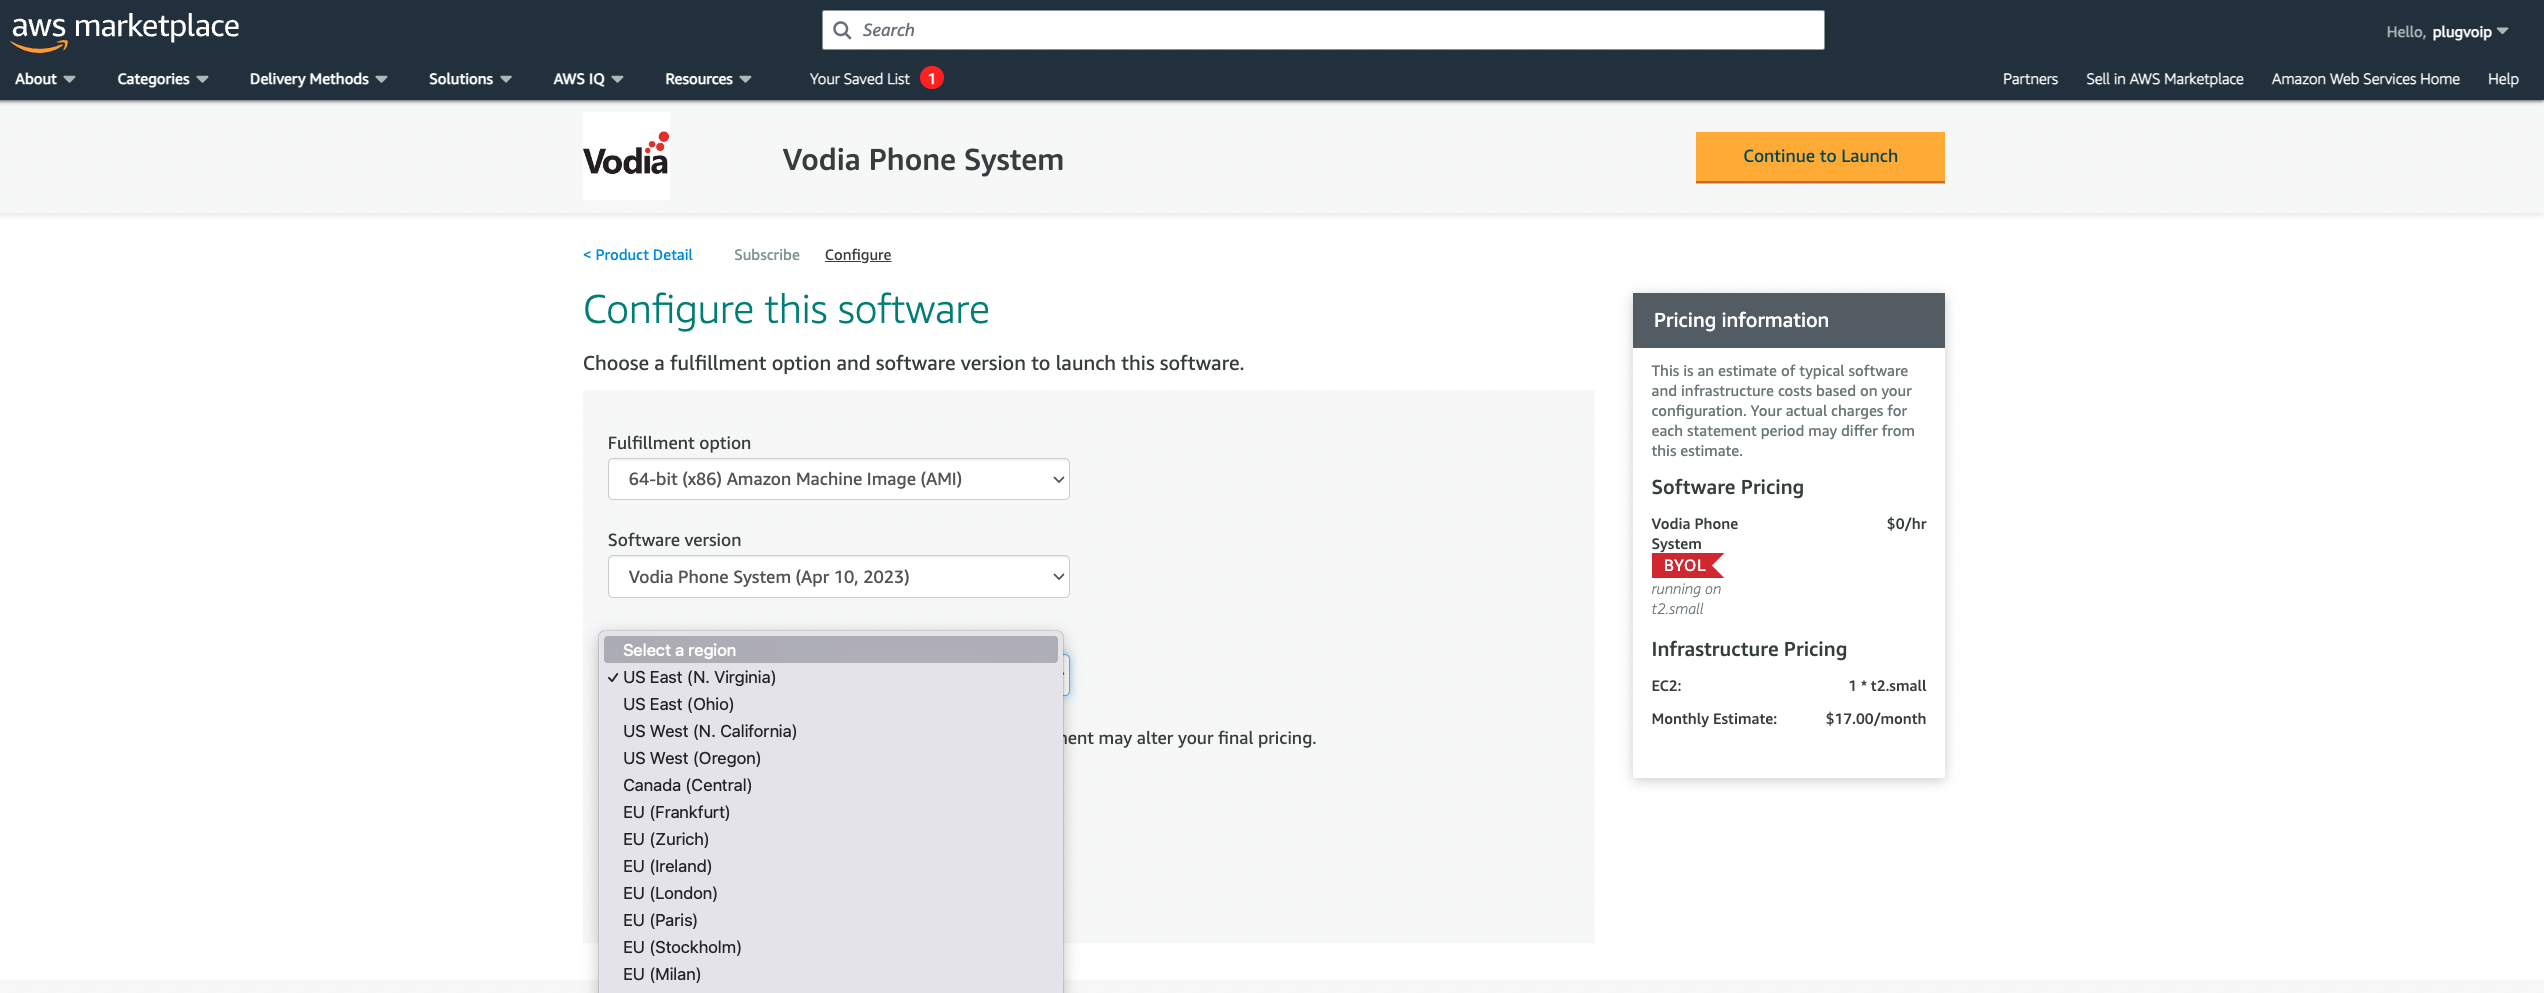
Here you can select a Vodia version and the region you would like to deploy the system from.
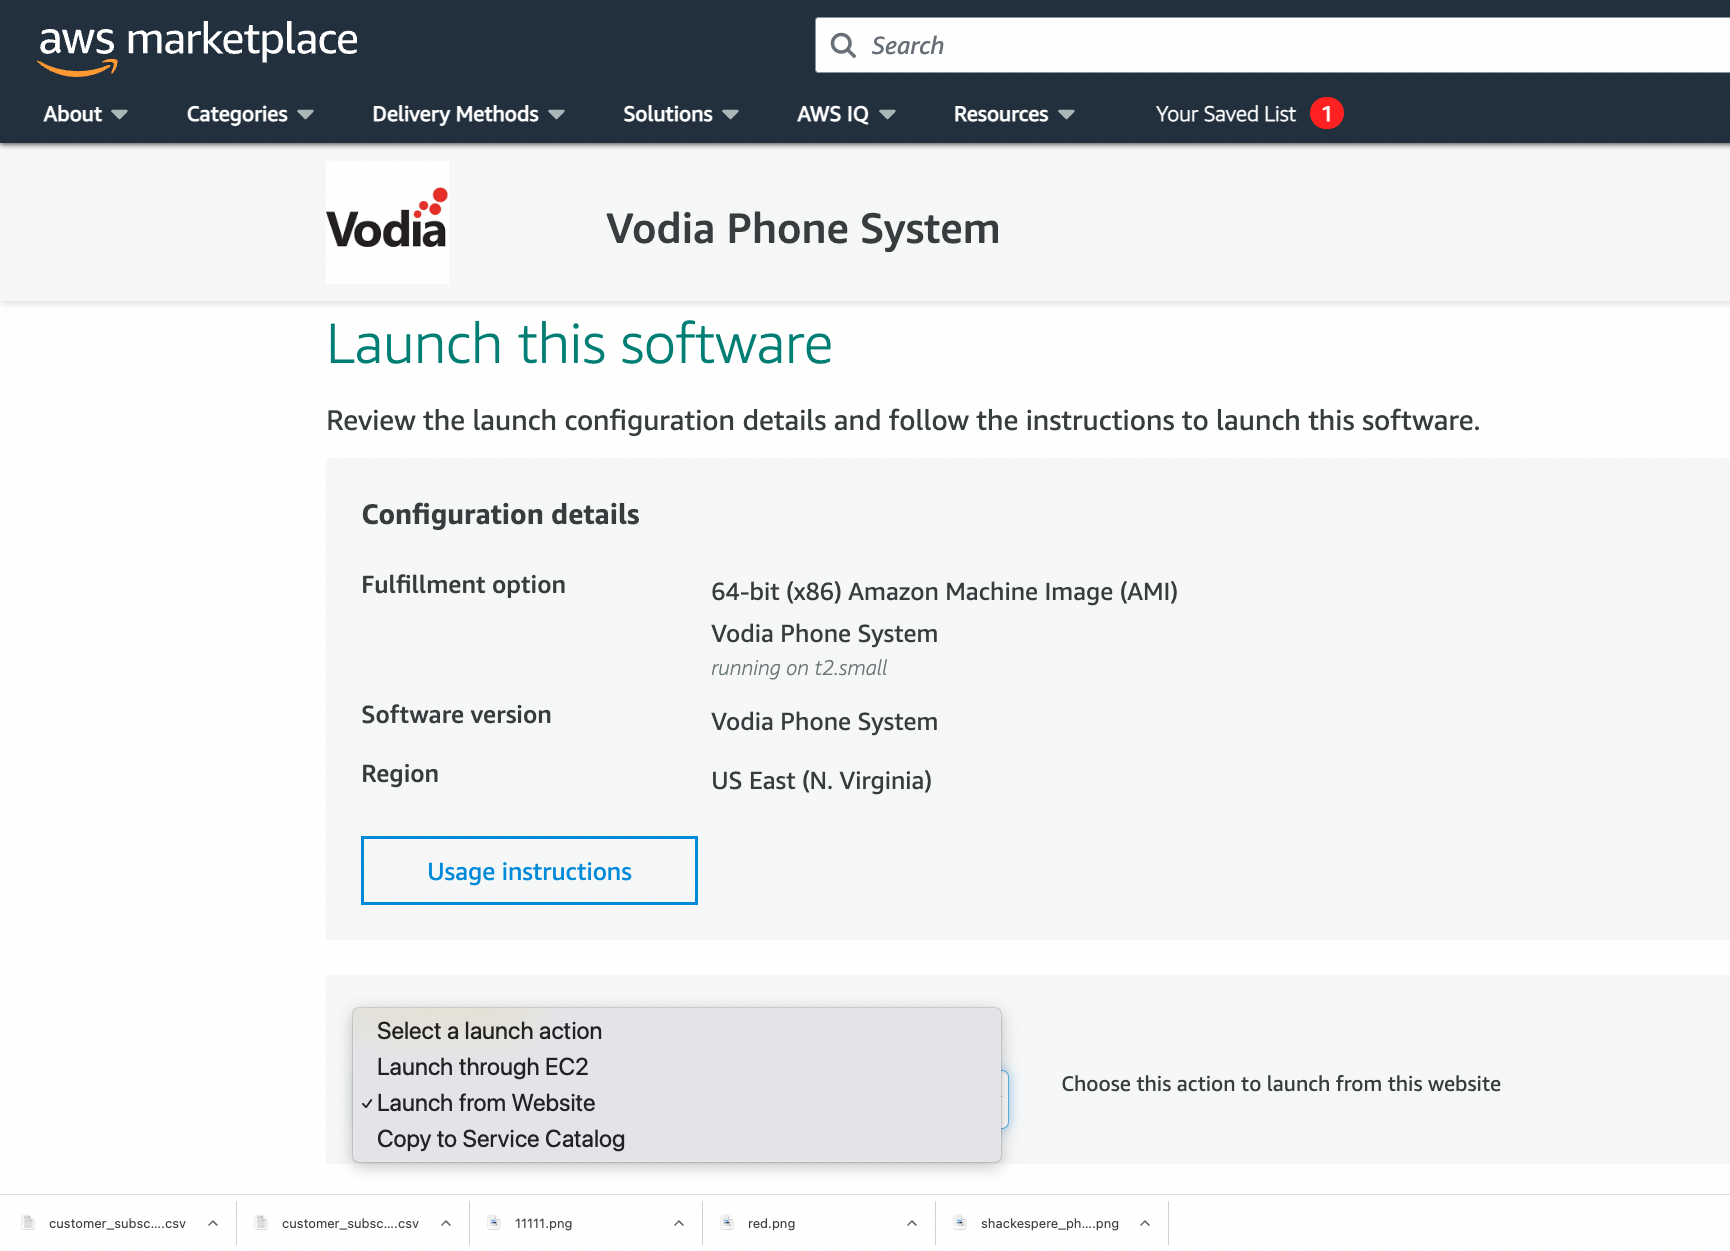
Here you can choose where you want to deploy the phone system from, for convenience I have chosen "Launch From Website"
EC2 instance type
Here you can choose the instance type you would like the phone system to run on.

Here you can choose a VPC and Subnet, I am using the default settings here.

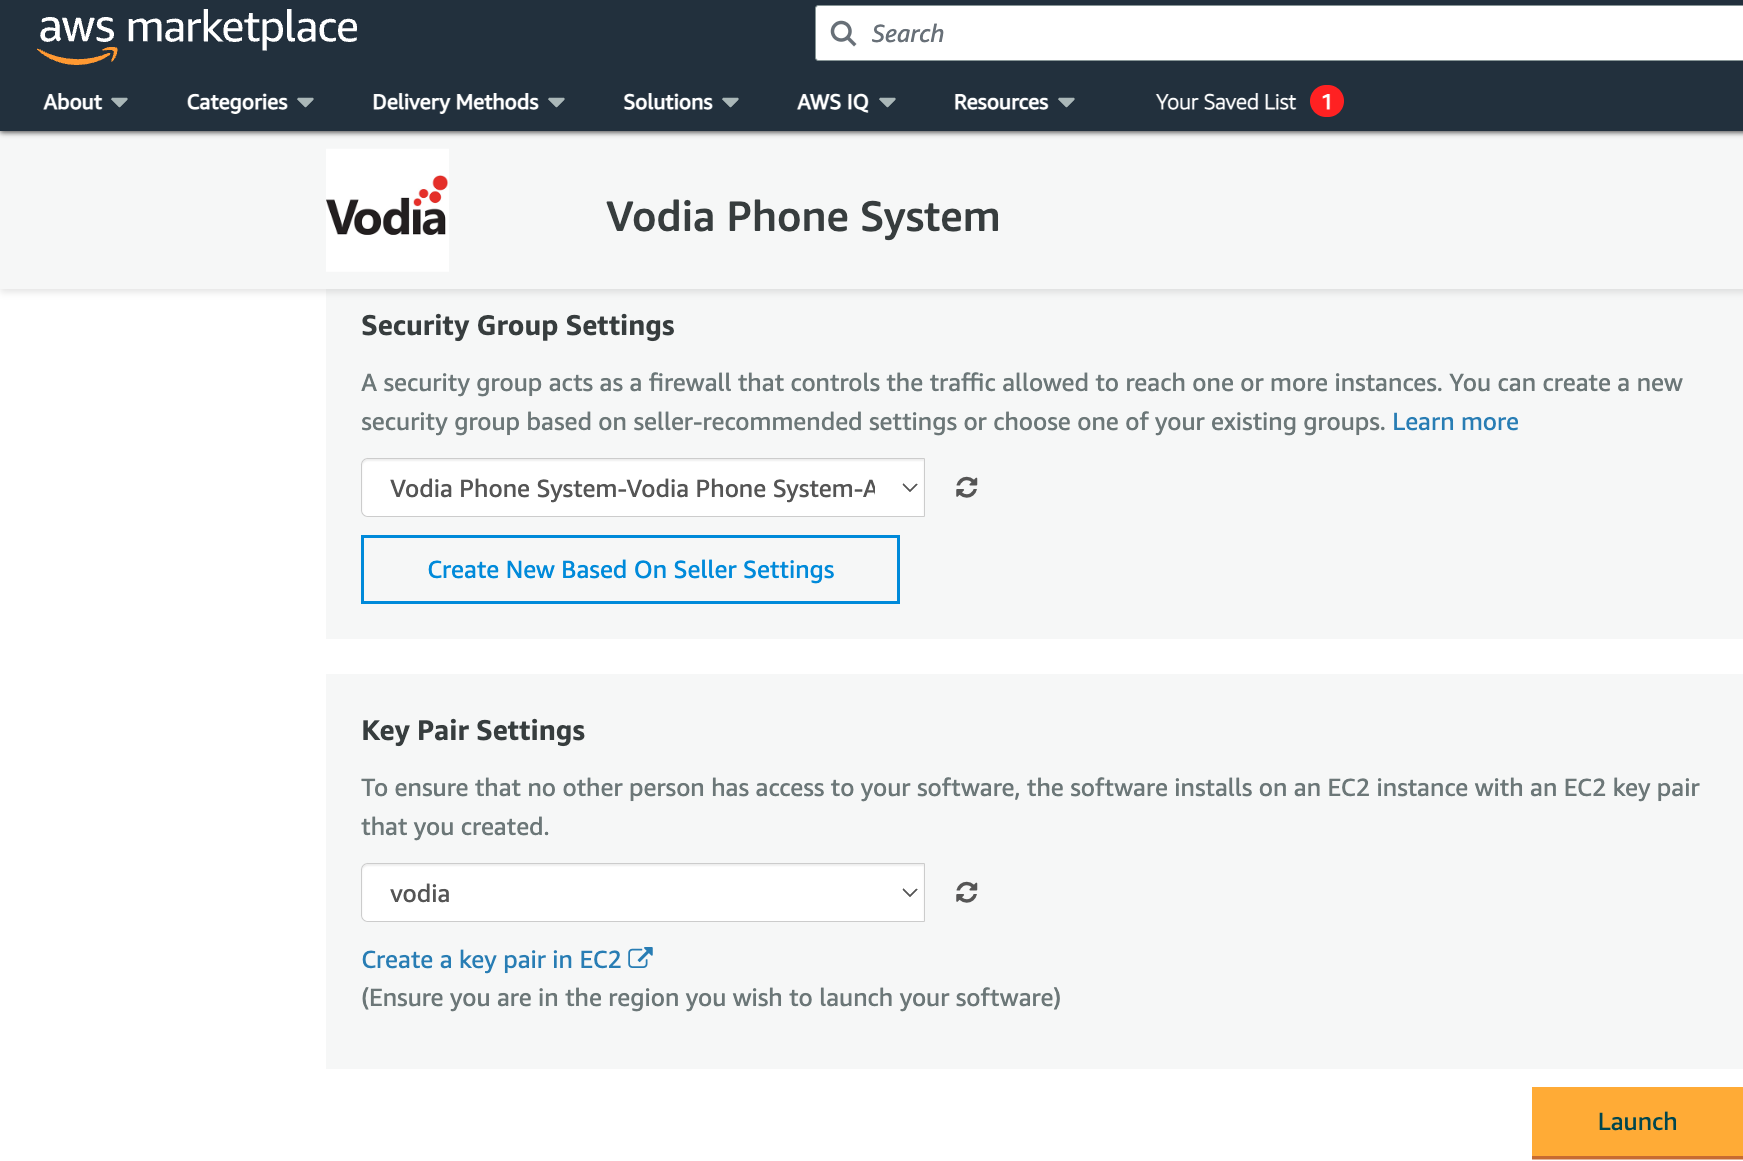
Security Group Settings
For this setup, I will use the Vodia default security group that's packaged with the phone system, the default ports are found here.
Key pair settings
For the Key Pair, you can use your existing Key or you can create a new one, if you create a new you will have to refresh by pressing on the refresh icon to see your new Key, assign it and then press launch.
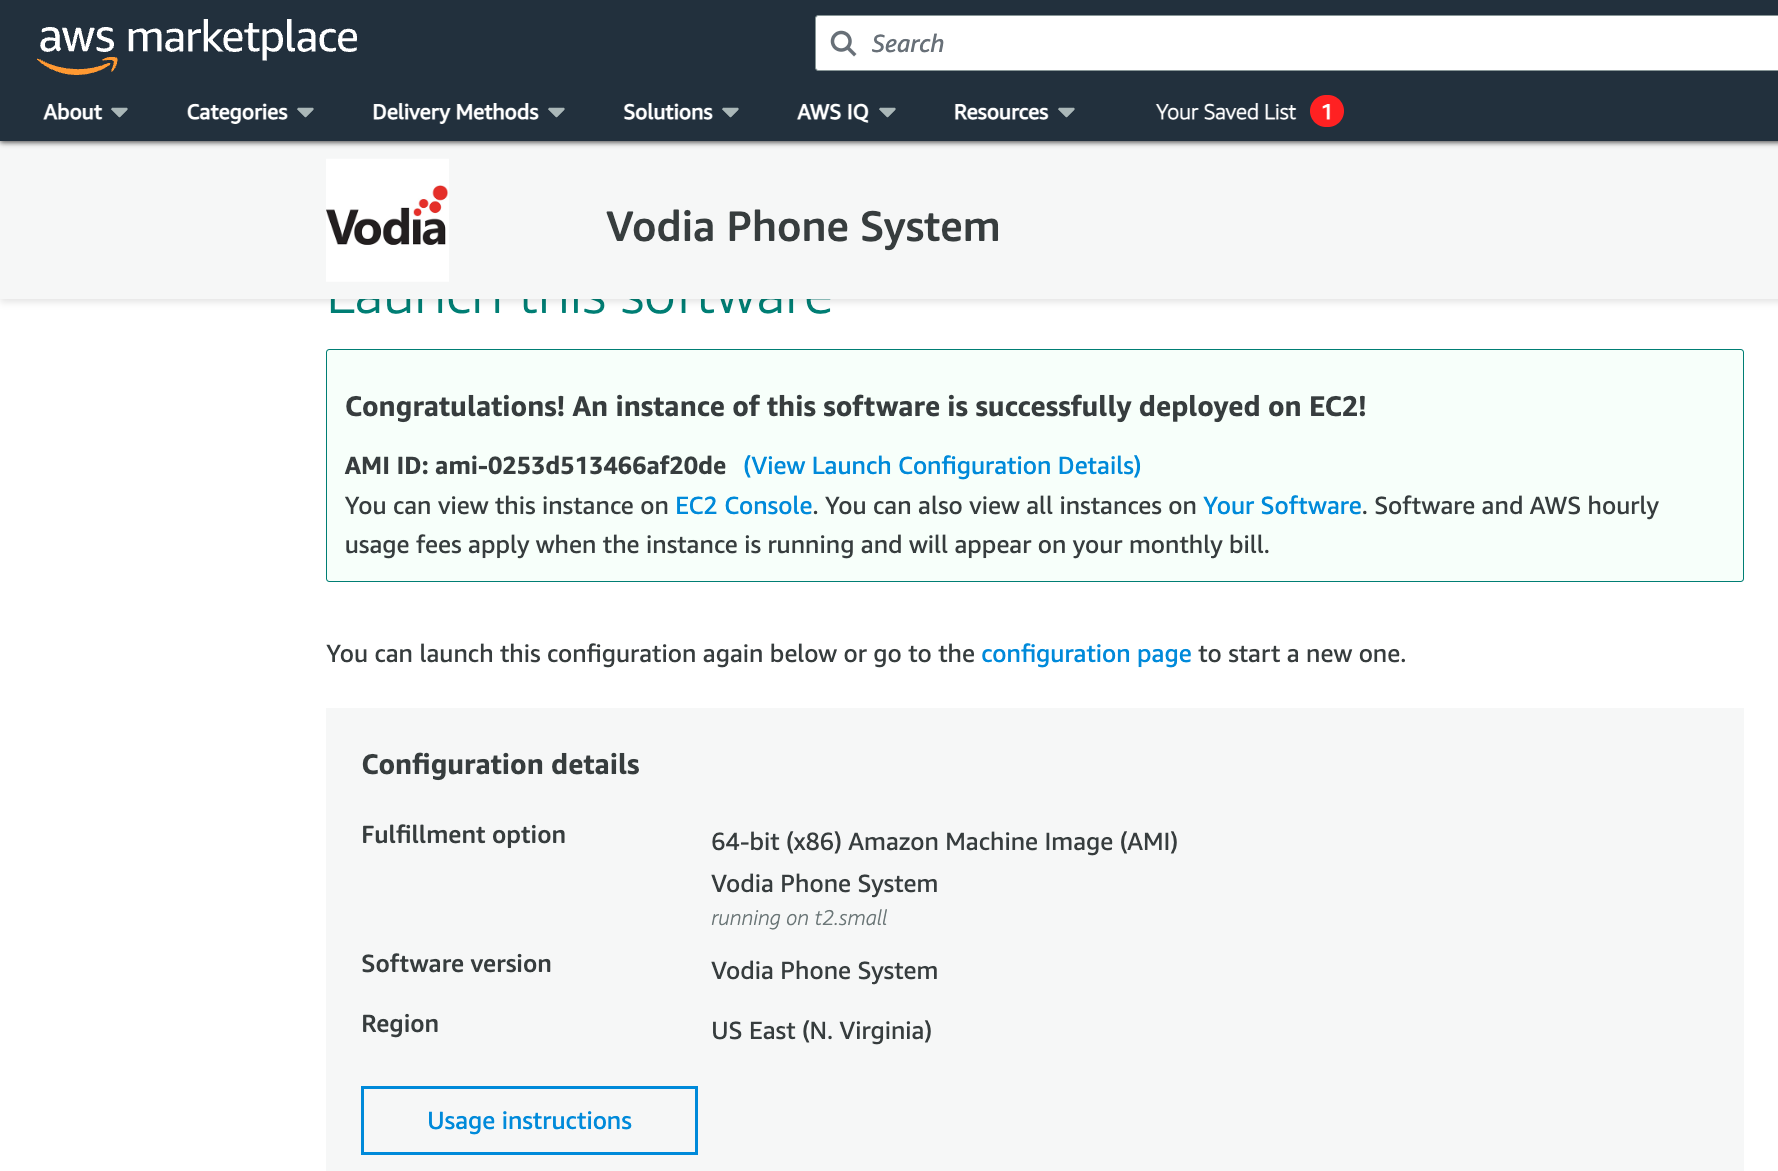
Congratulations
Now that you have successfully launched your Vodia phone system on the AWS marketplace, we will need to log in to the phone system to set up your password. Click on EC2 Console to check the information on your Vodia instance, if you are familiar with the EC2 dashboard it does take a few minutes
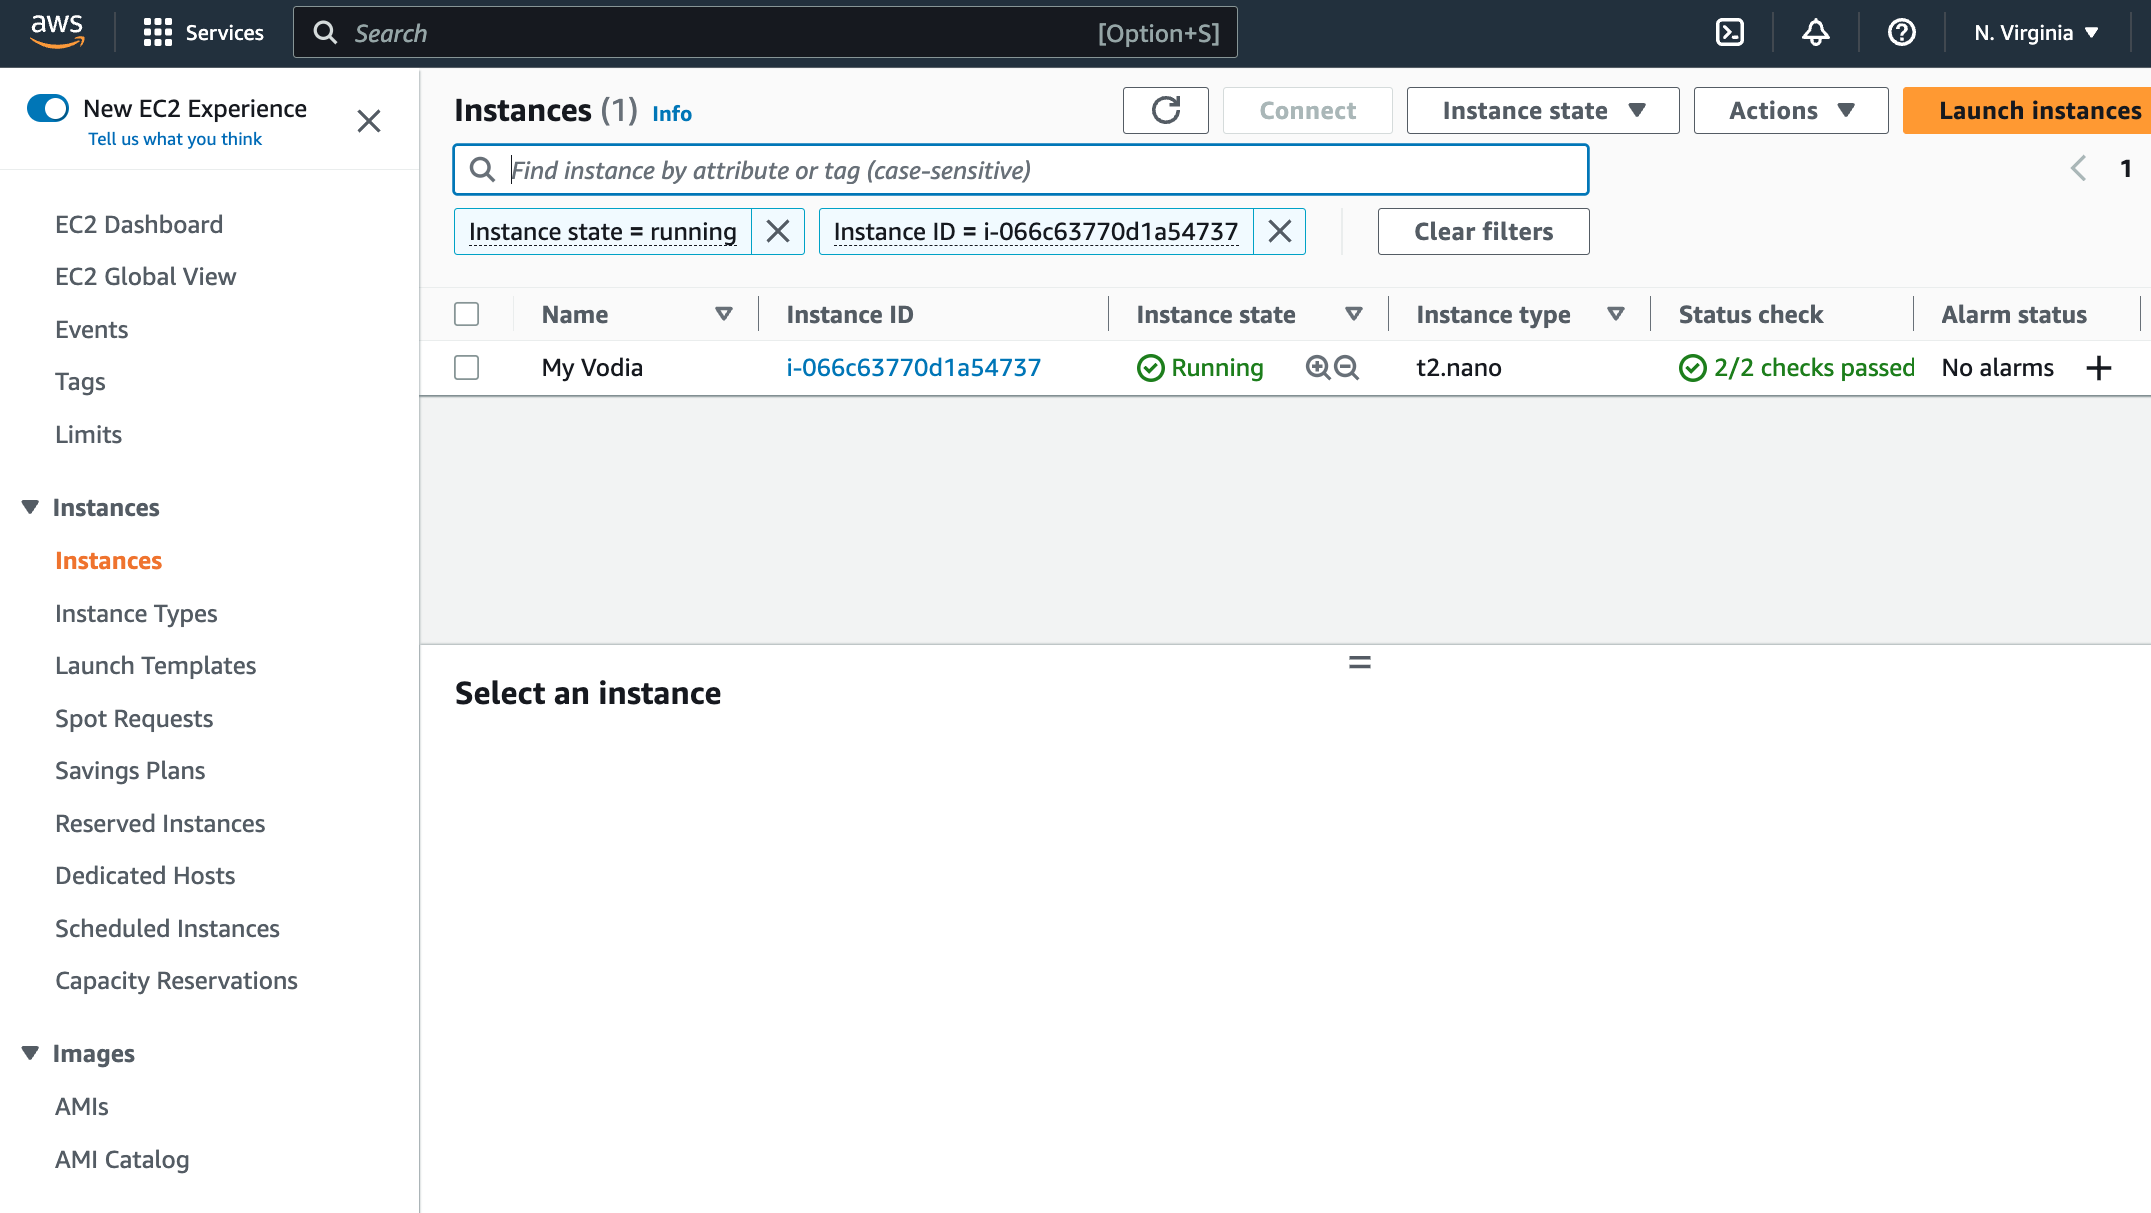
EC2 Dashboard
Below you will see information about your Vodia instance, give your phone system a name as it's empty by default,
Note: since you are running a phone system you will need an elastic IP address for your EC2 instance
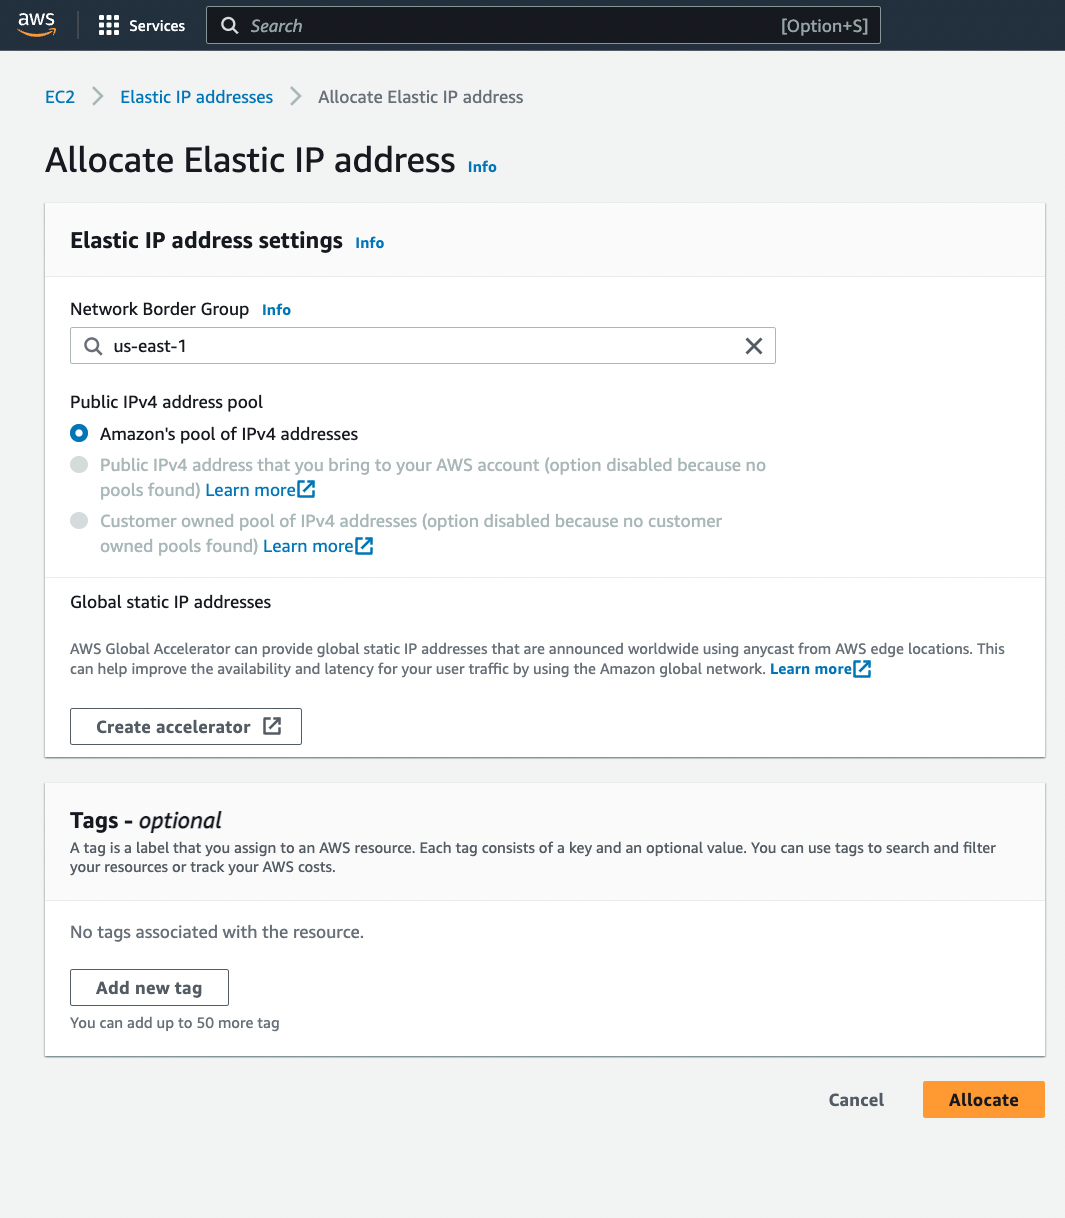
Let's now assign an Elastic IP address to the Vodia phone system, navigate to Network & Security > Security Groups and choose Elastic IP, then click on "Allocate Elastic IP address"
Assign an Elastic IP
- Choose your Network Border Group if available or leave it as default
- Use Amazon's pool of IPv4 addresses
- Then Allocate
Allocating and assigning the elastic IP address
Now that you have successfully allocated an Elastic IP address we can now "Associate the Elastic IP address" to your Vodia phone system
Click on "Actions" and "Associate Elastic IP address" and continue below

Choose instances and type in your instance name or AMI ID so AWS can associate the instance, with the IP, for private IP choose the default, and allow the IP to be reassociated for future purposes, press Associate

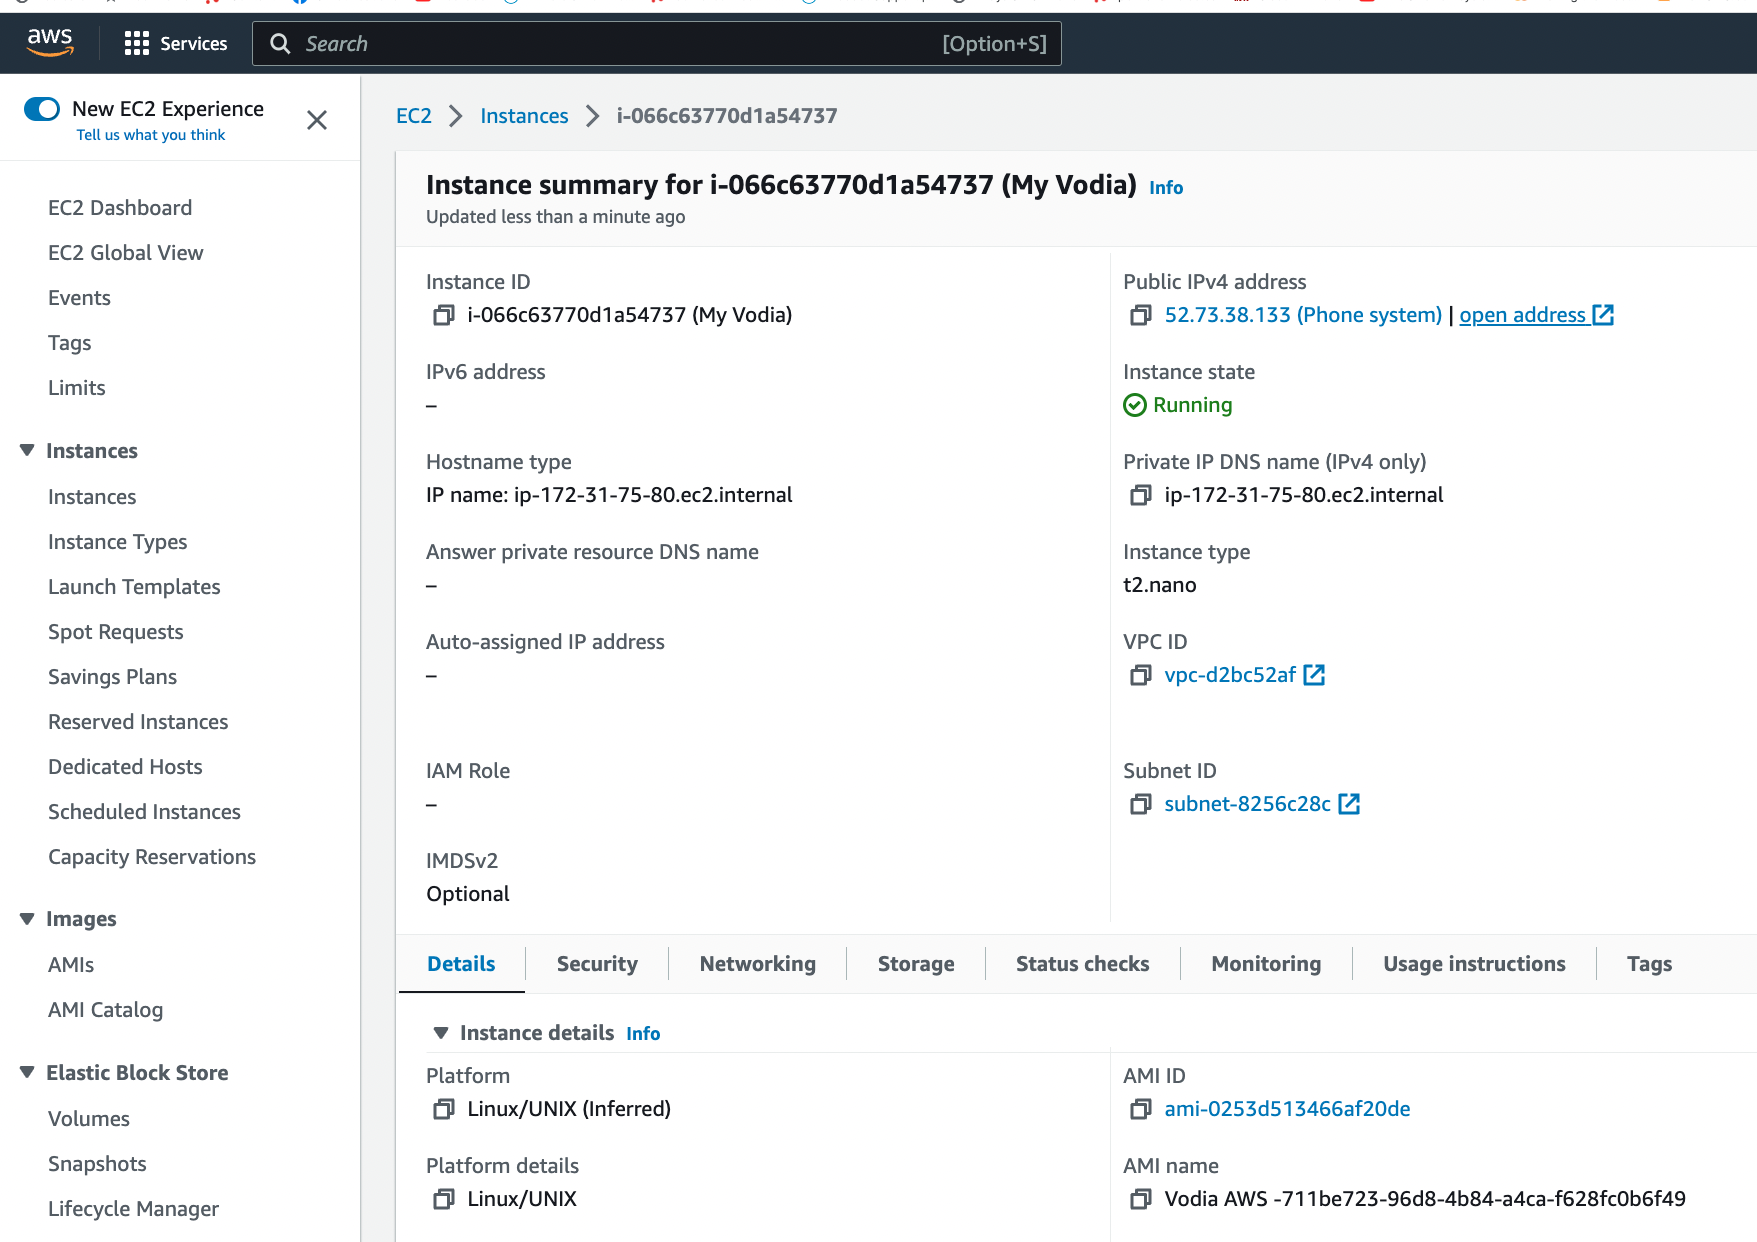
Logging into the Vodia phone system
Now that we have associated your Elastic IP for your Vodia phone system, Let's log into the software, here's how,
in your EC2 dashboard click on your "Instance ID" to see the instance summary, you should be able to see your new IP address, under "Public IPv4 address" Click on the hyperlink open address" hyperlink
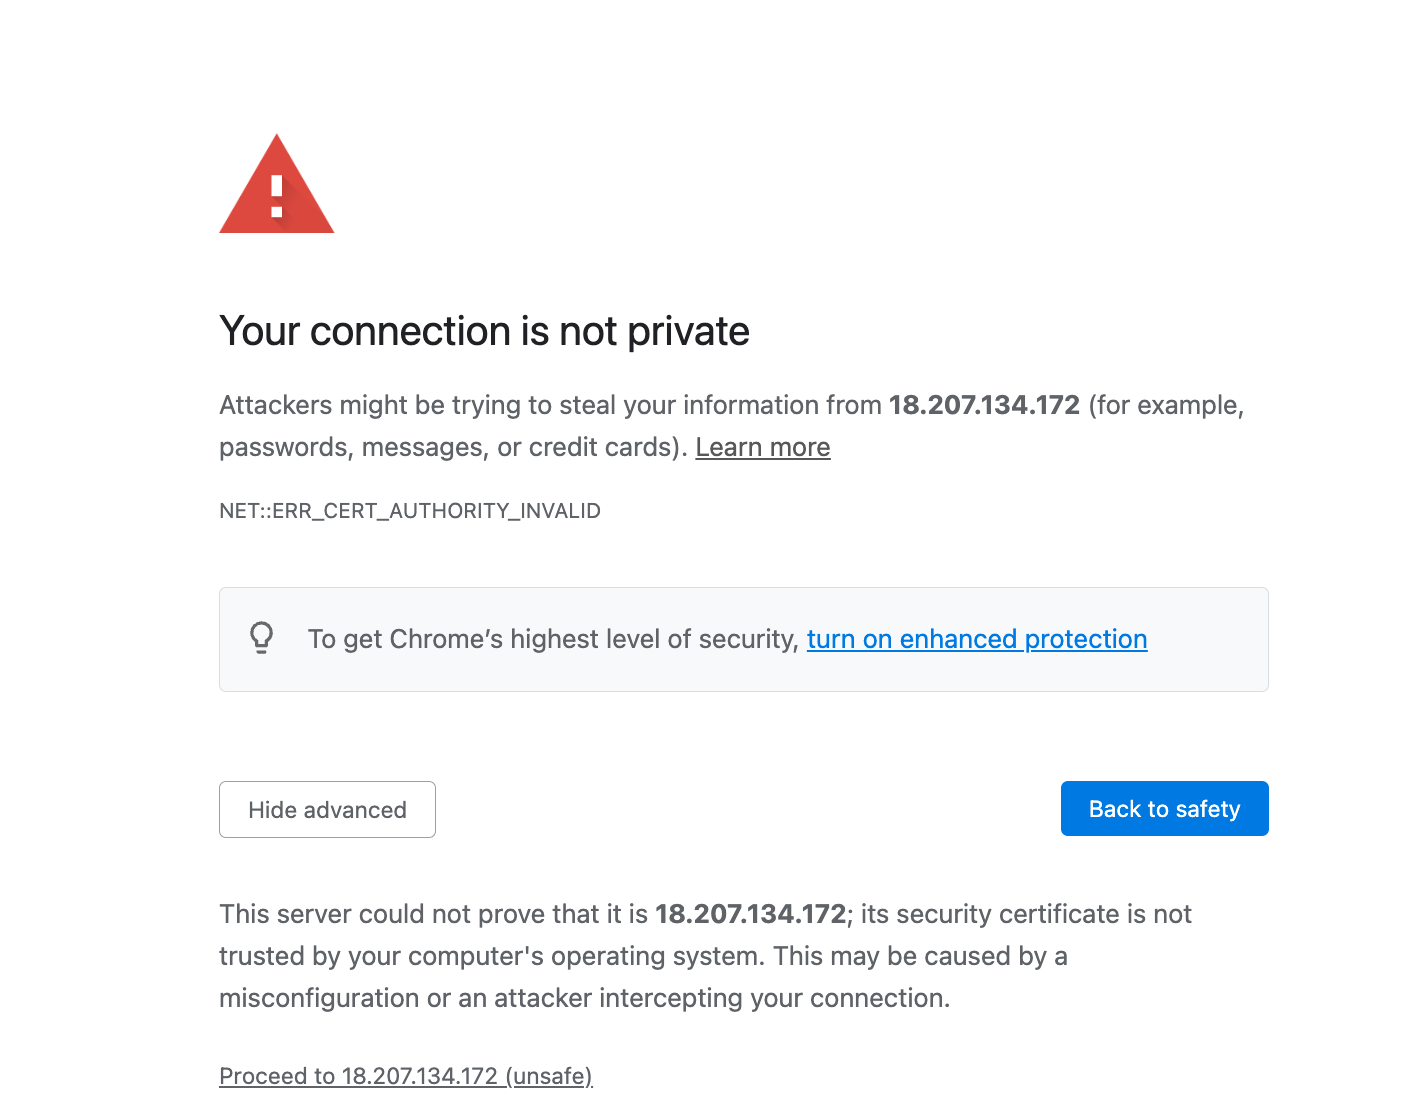
You will be presented with a "connection is not private" Press proceed, You can later create a DNS entry for your tenant domain, Vodia will create a Let's encrypt certificate, for the server and for the tenants, for this is ok, proceed.
Vodia phone system interface
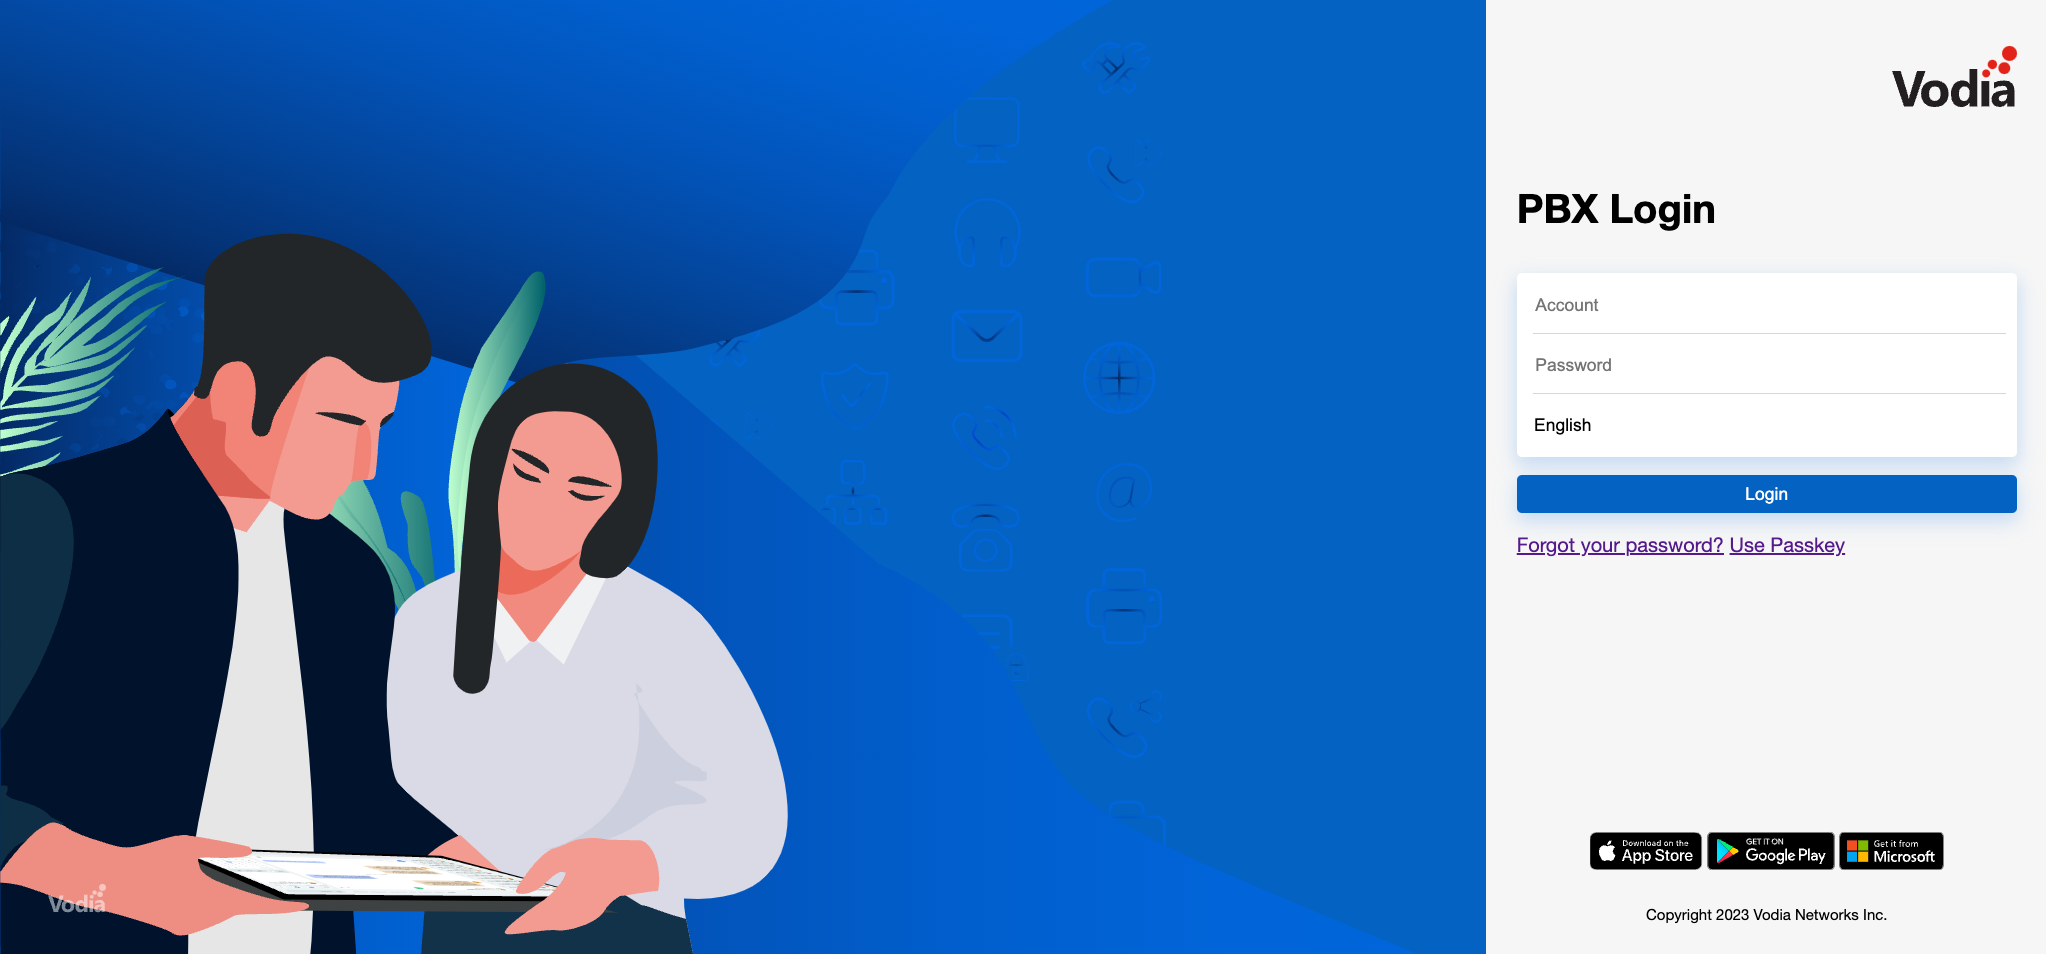
Login into the system for the first time
To login into the phone system uses the following credentials
User: ec2 "lowercase"
Password: Your Vodia phone system's EC2 instance ID you can this ID in your instance summary
For example, i-05647db1234623c785 should be 19 characters
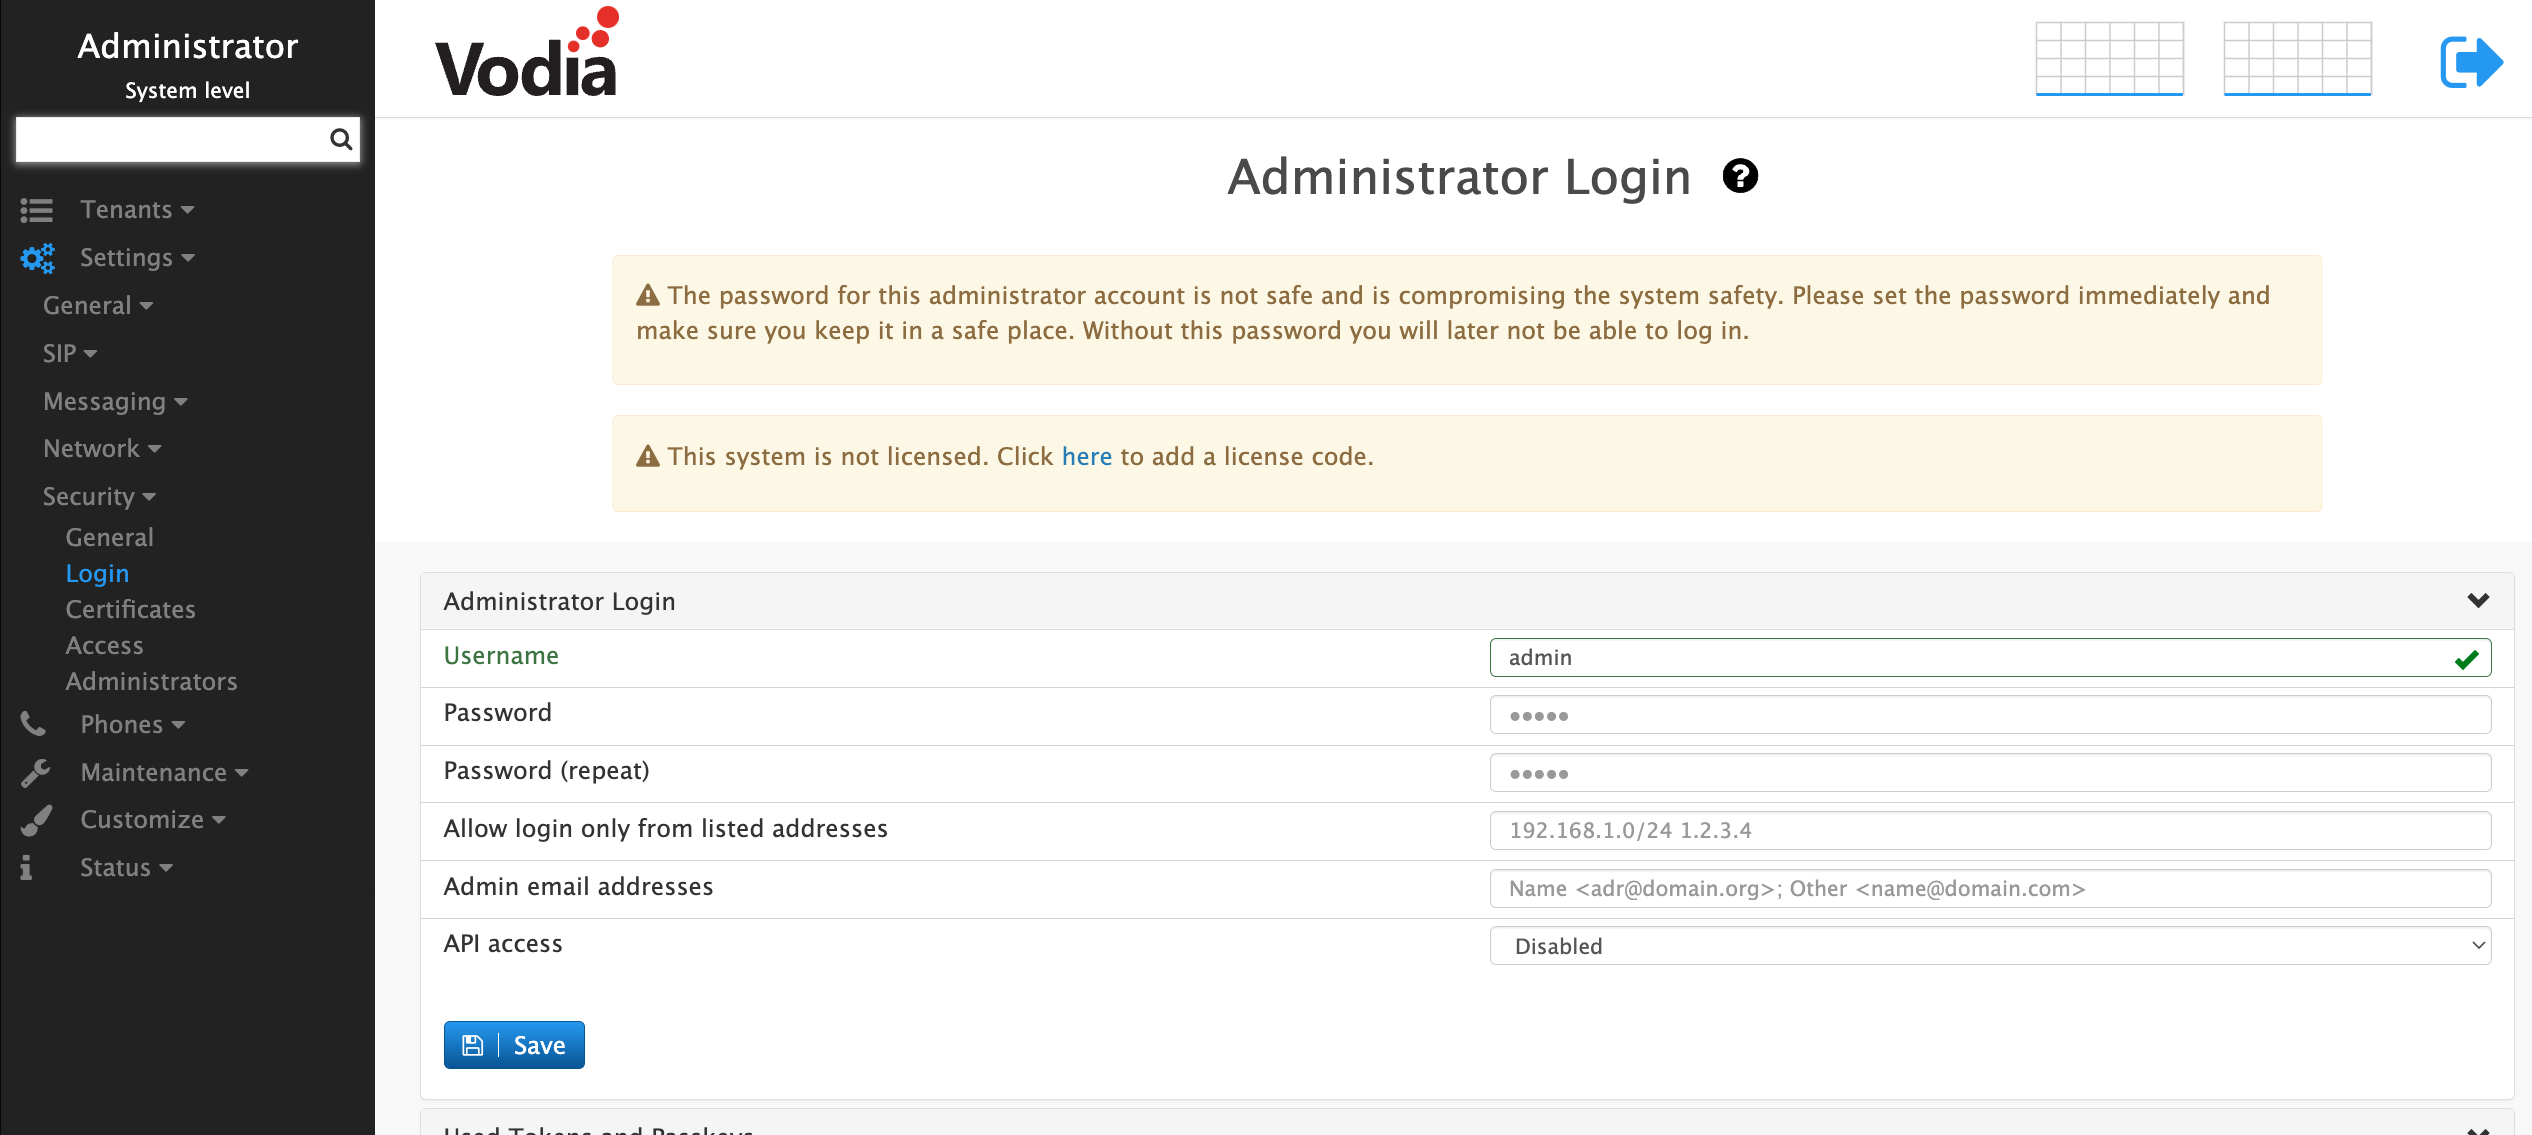
Once you have logged in successfully you will be presented with the administrator login, here you can create your password for the system.
Licensing the Vodia phone system
To run the phone system you will need a license to activate Vodia, visit us at https://web.vodia.com/contact
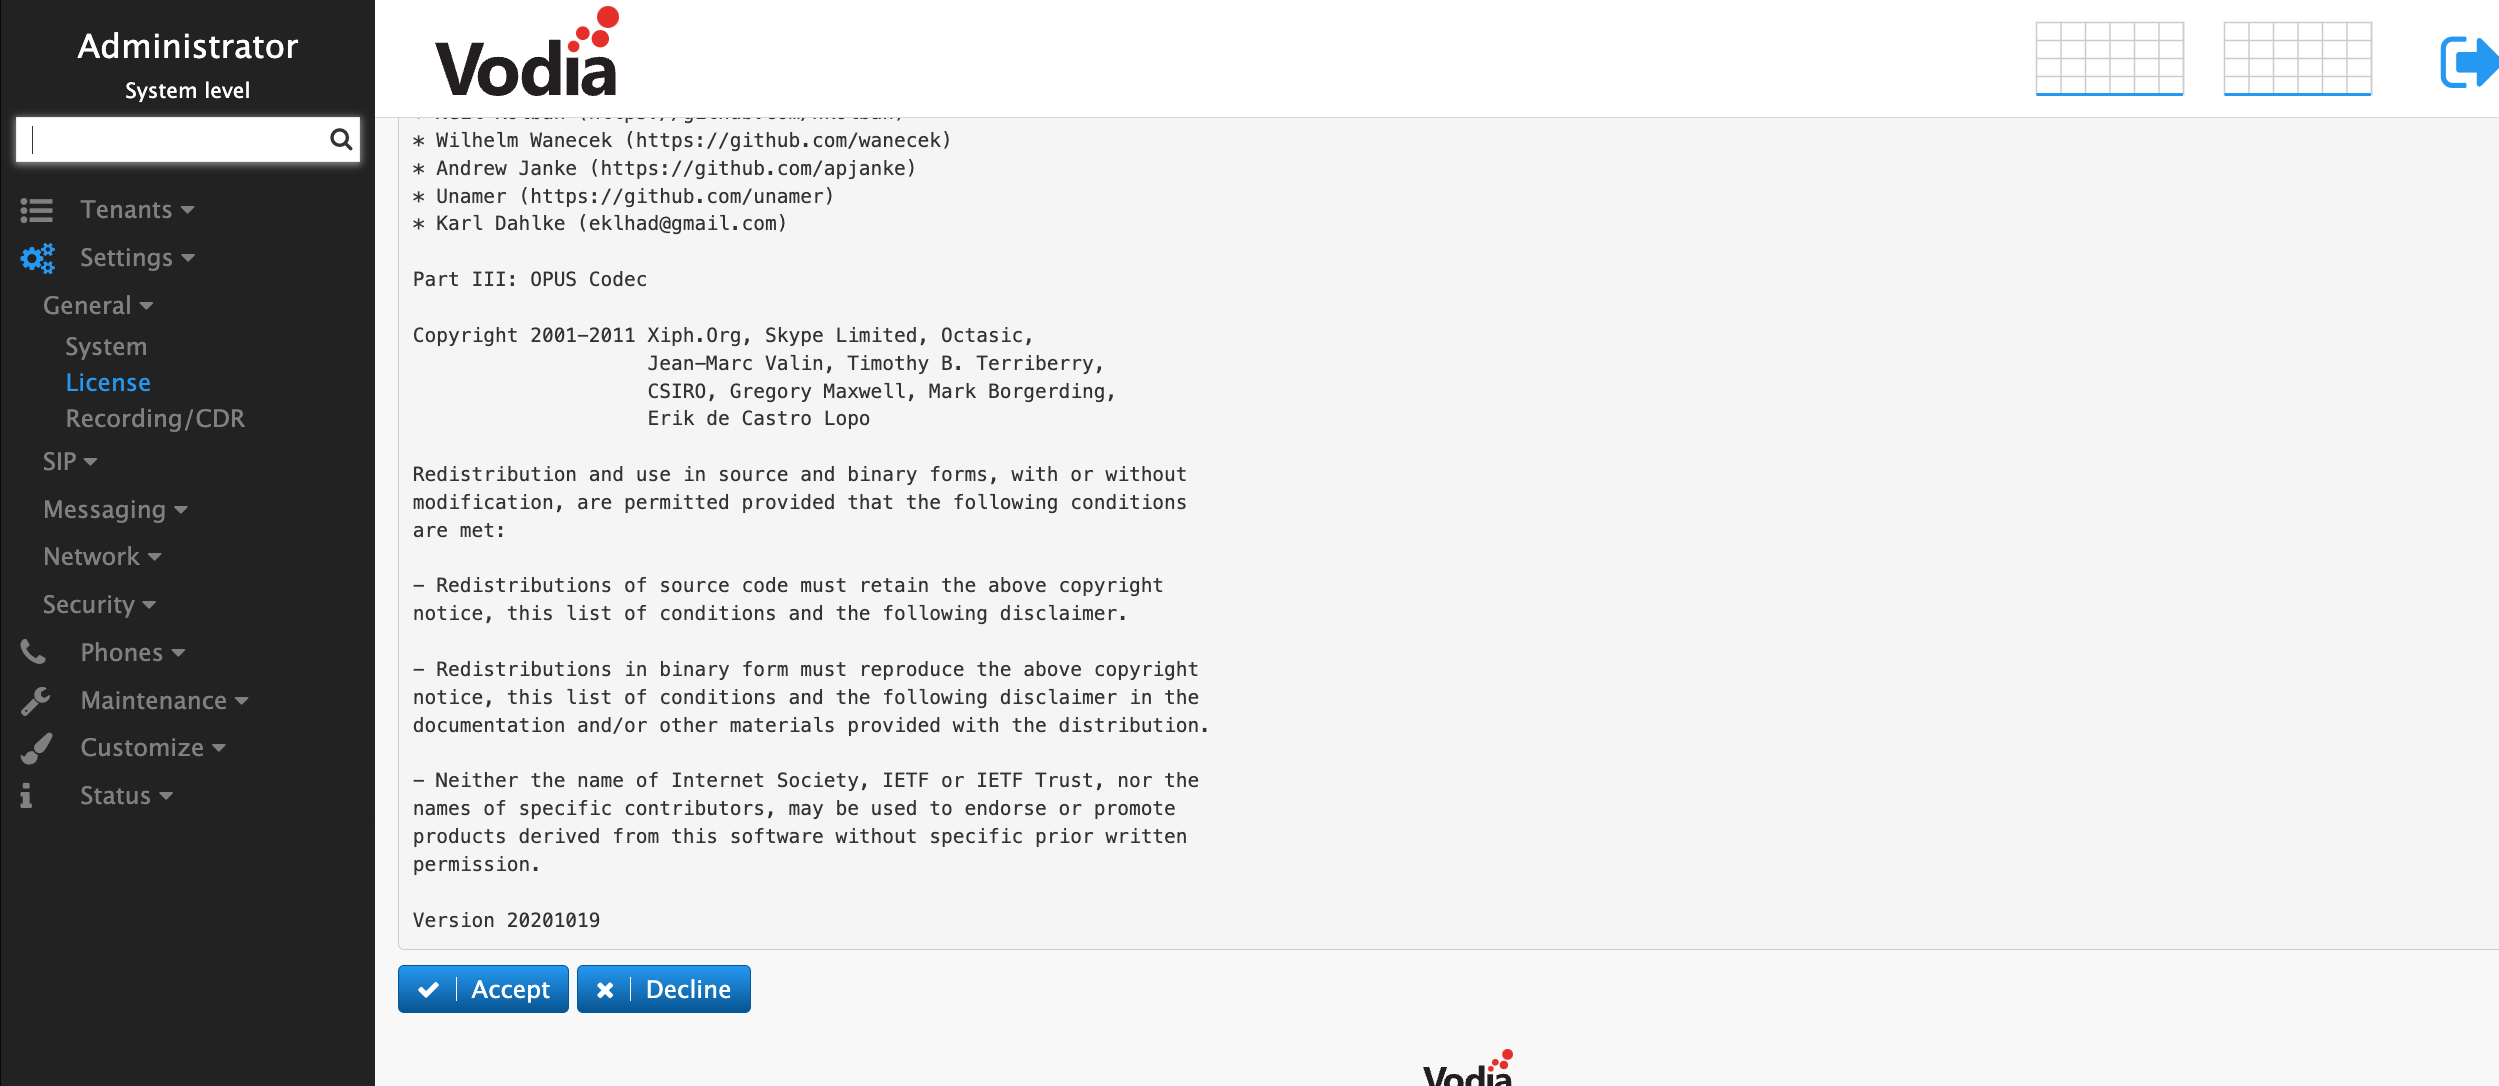
Navigate to General > License and accept the EULA
License
When you have your license ready you copy and paste it into the activation code and press save.

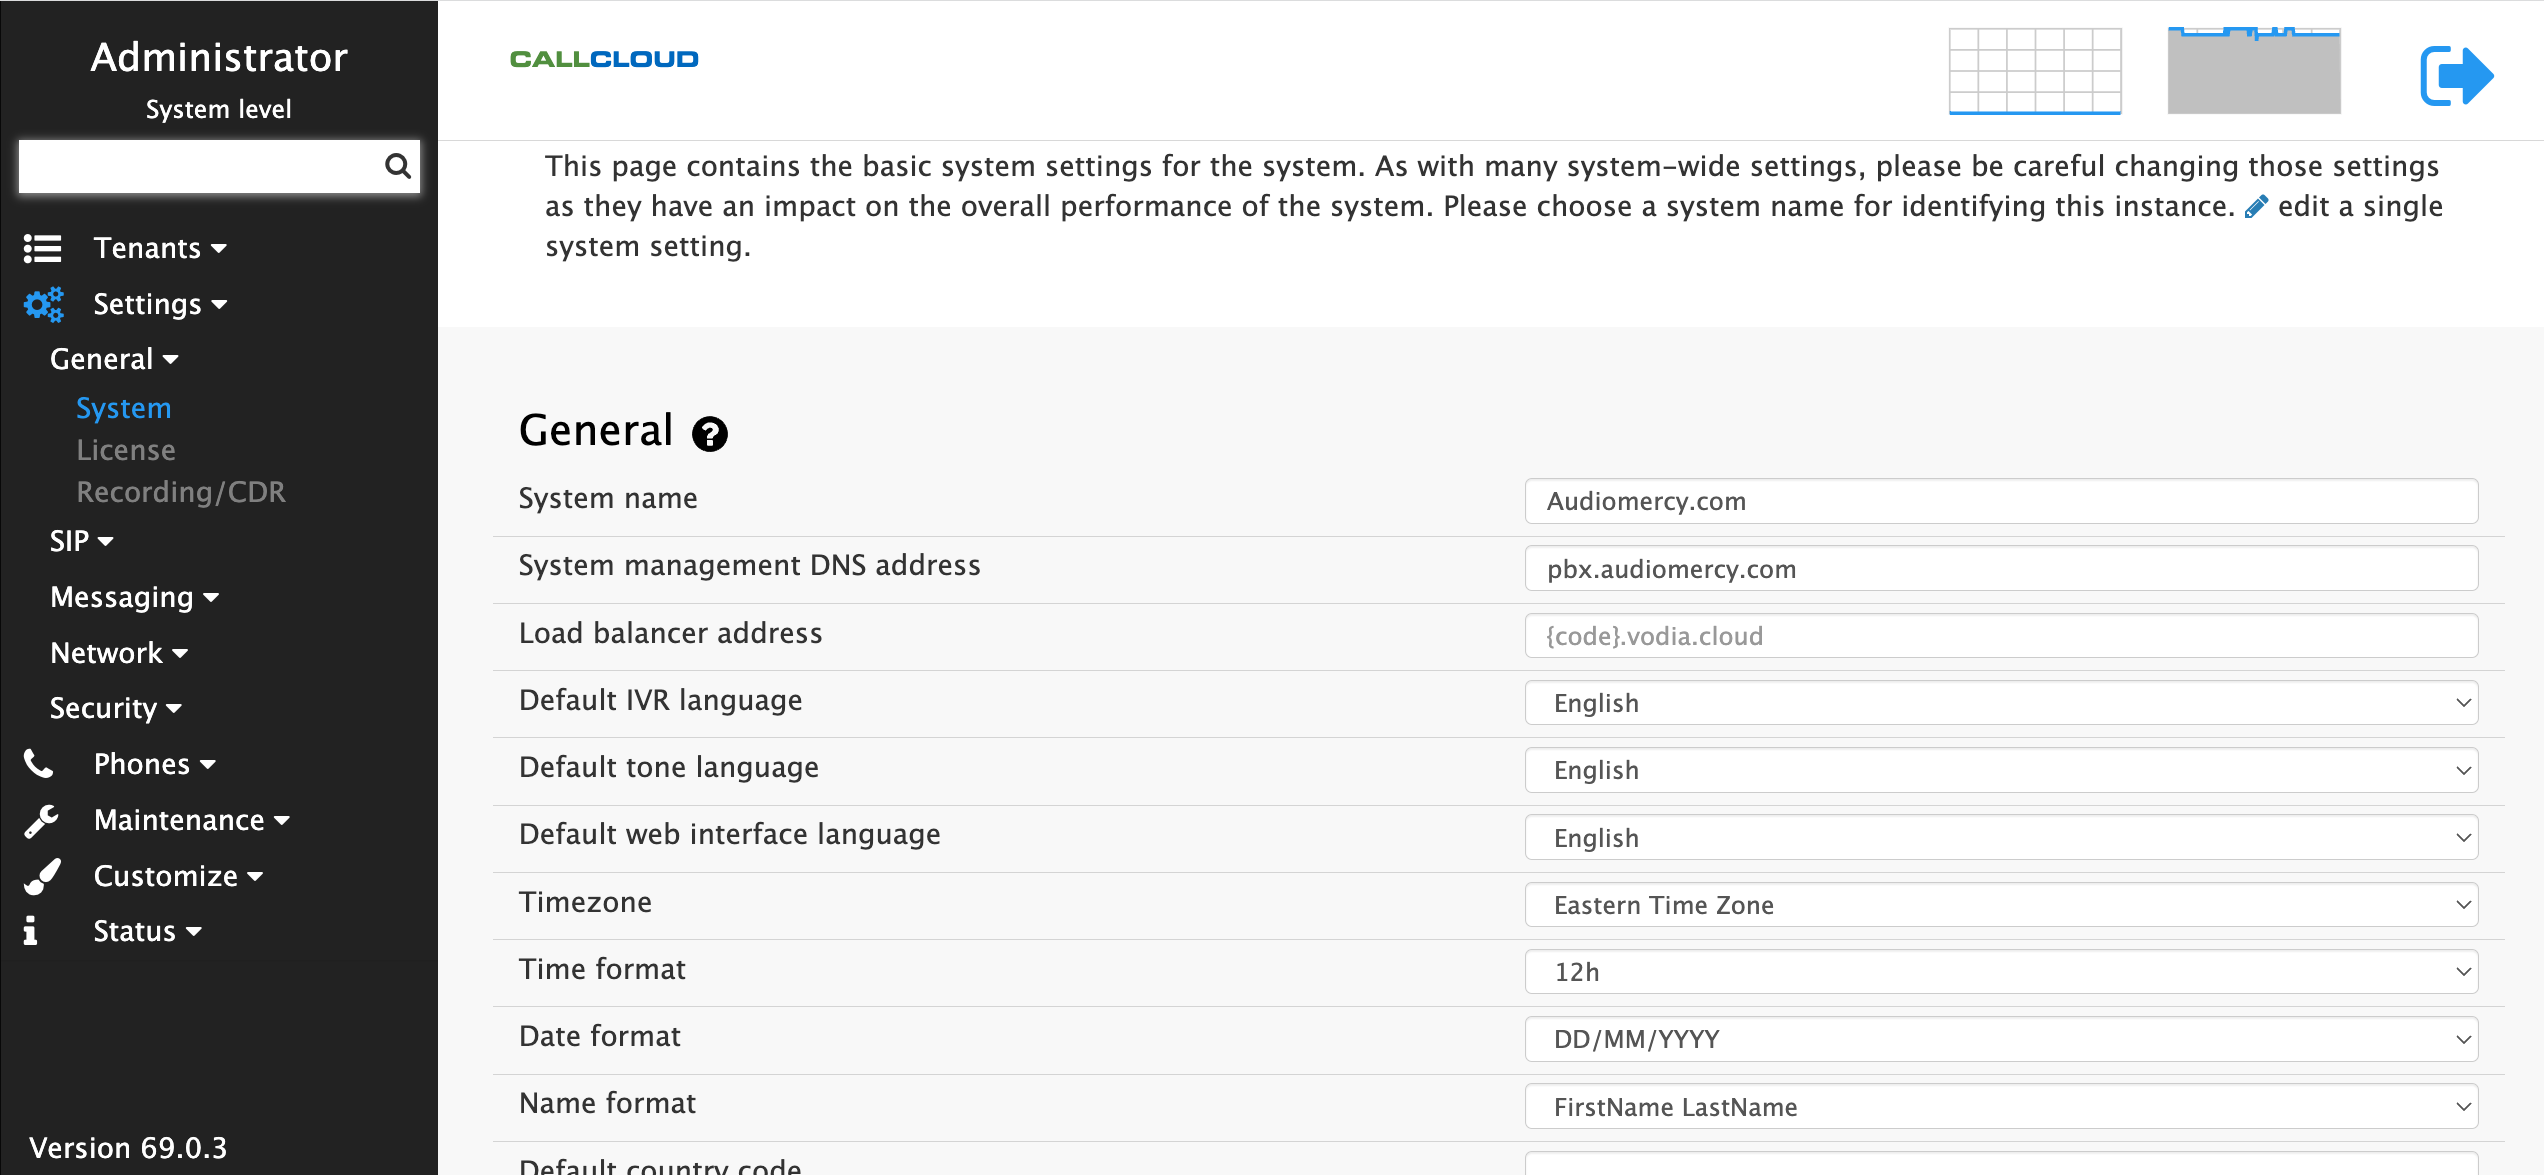
System management address
https://www.godaddy.com/help/add-an-a-record-19238 Next, type in the DNS address name and save the configuration. Login into the phone system with your new system DNS address.
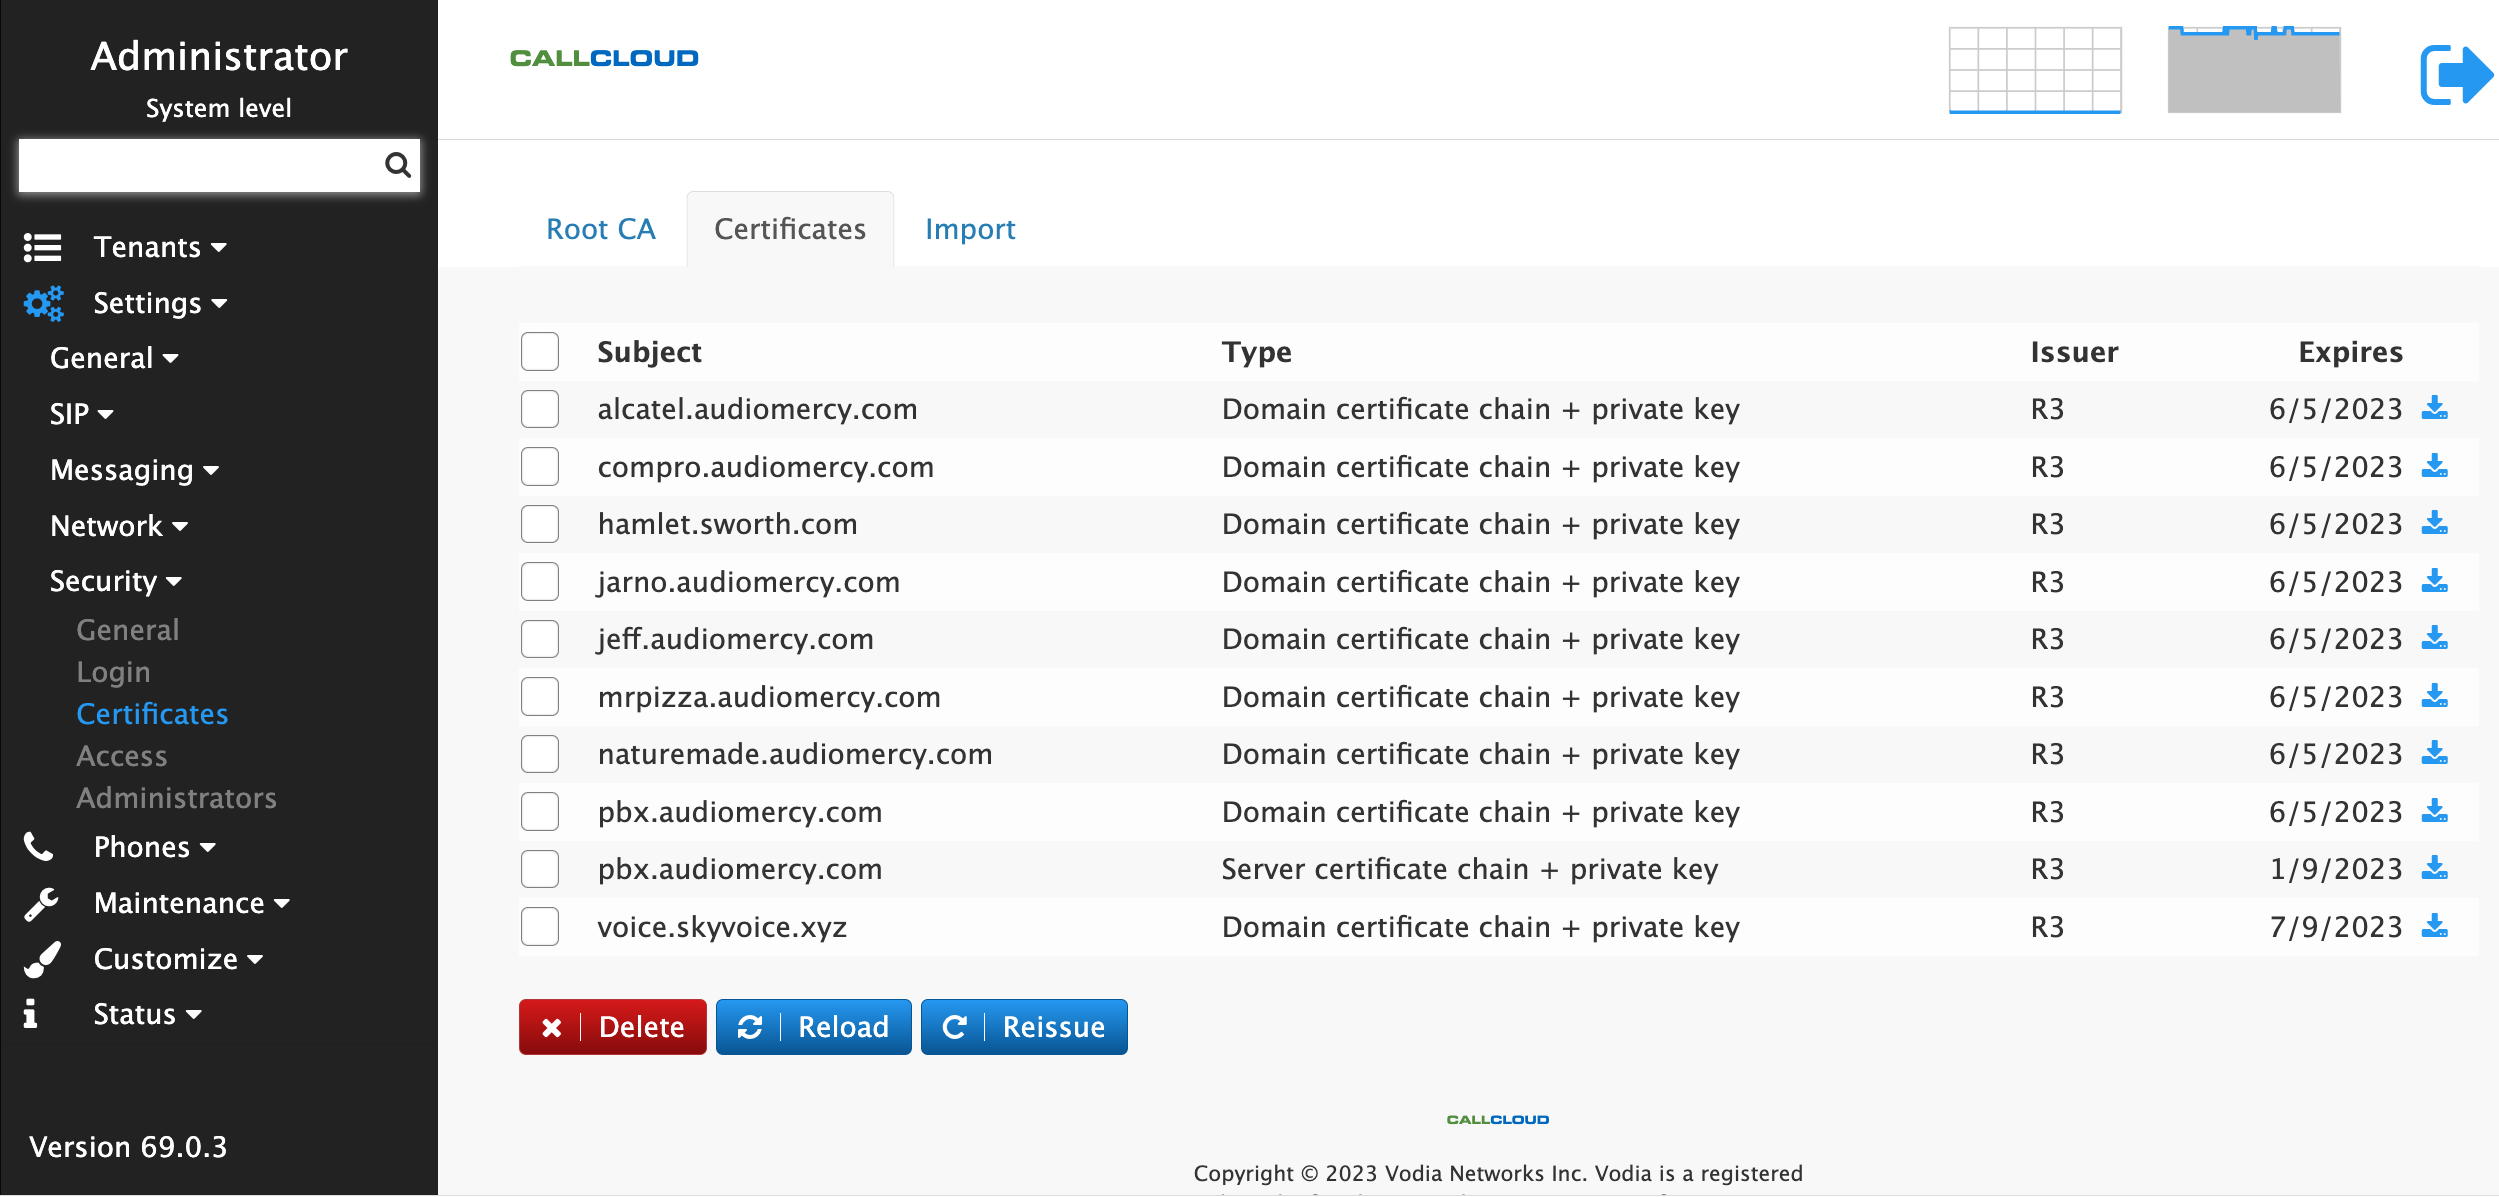
Certificates
As you can see below the Vodia phone system will create a domain certificate for the tenant on the system and for the system server itself. Vodia uses Let's Encrypt to assign the SSL certificates to the tenants, we have added the below for example, you can check this in system level > Security > Certificates
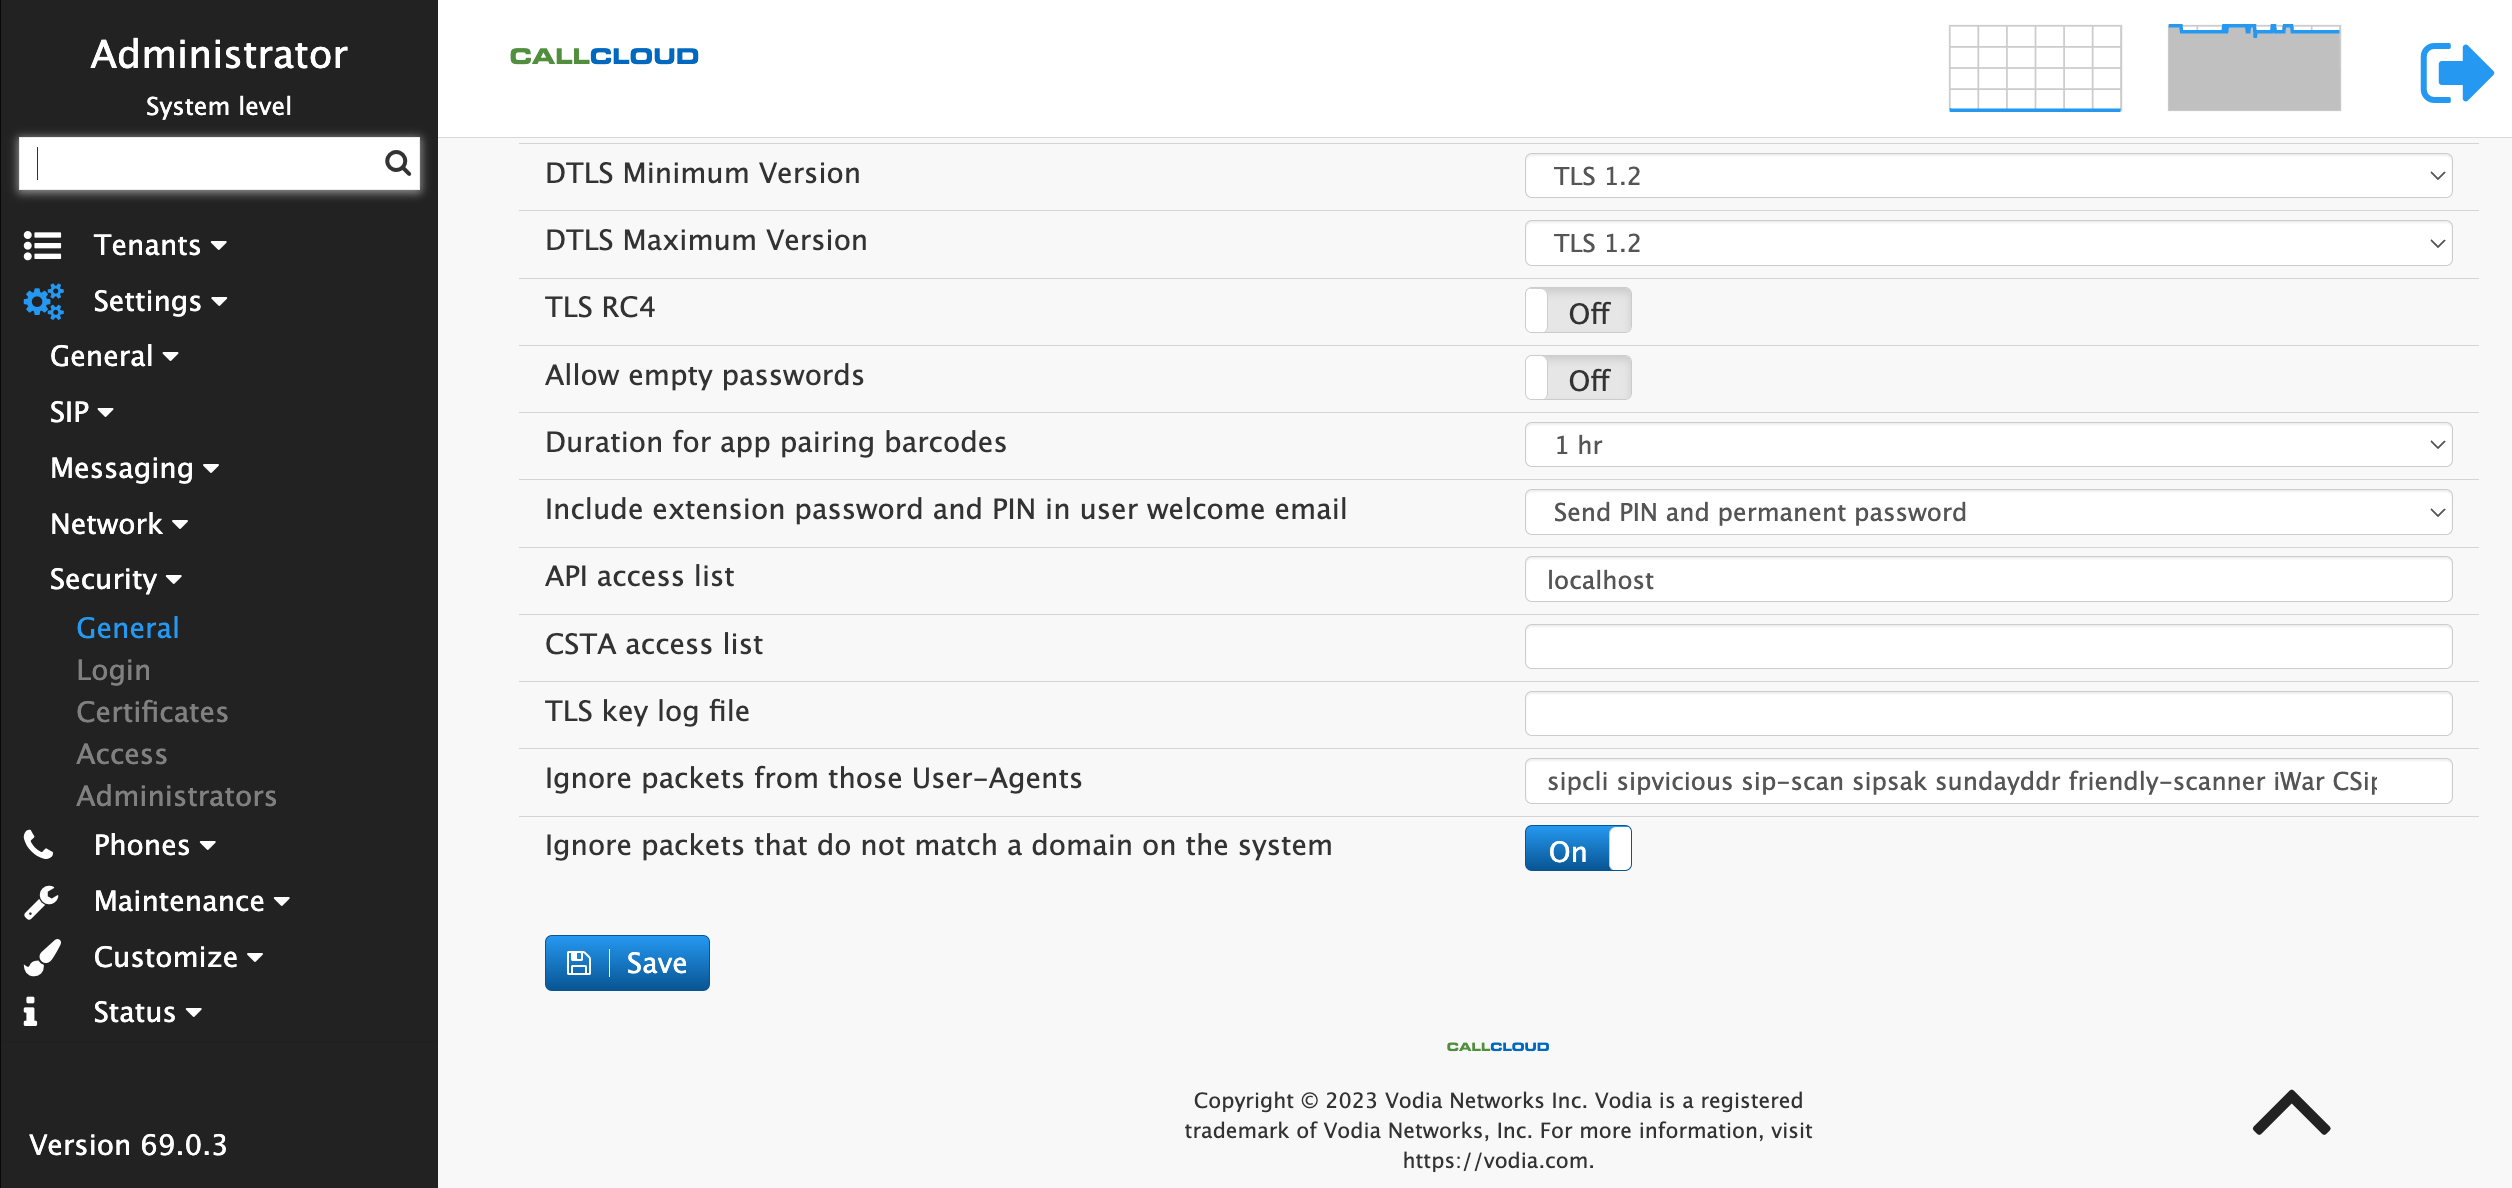
Security Settings
We will start activating some security features that you will use later in this tutorial, navigate to > Security > General
Activate the following settings
- Duration for app pairing barcodes: Set your duration here, for pairing the app, this will give the user some time to scan the QR code for their smart app.
- Include the extension password and PIN in the user welcome email: Set your preference
- Ignore packets that do not match a domain on the system: Can be set [on] only if you have logged into the system with your management DNS address, if not set to [off]
- Save configuration
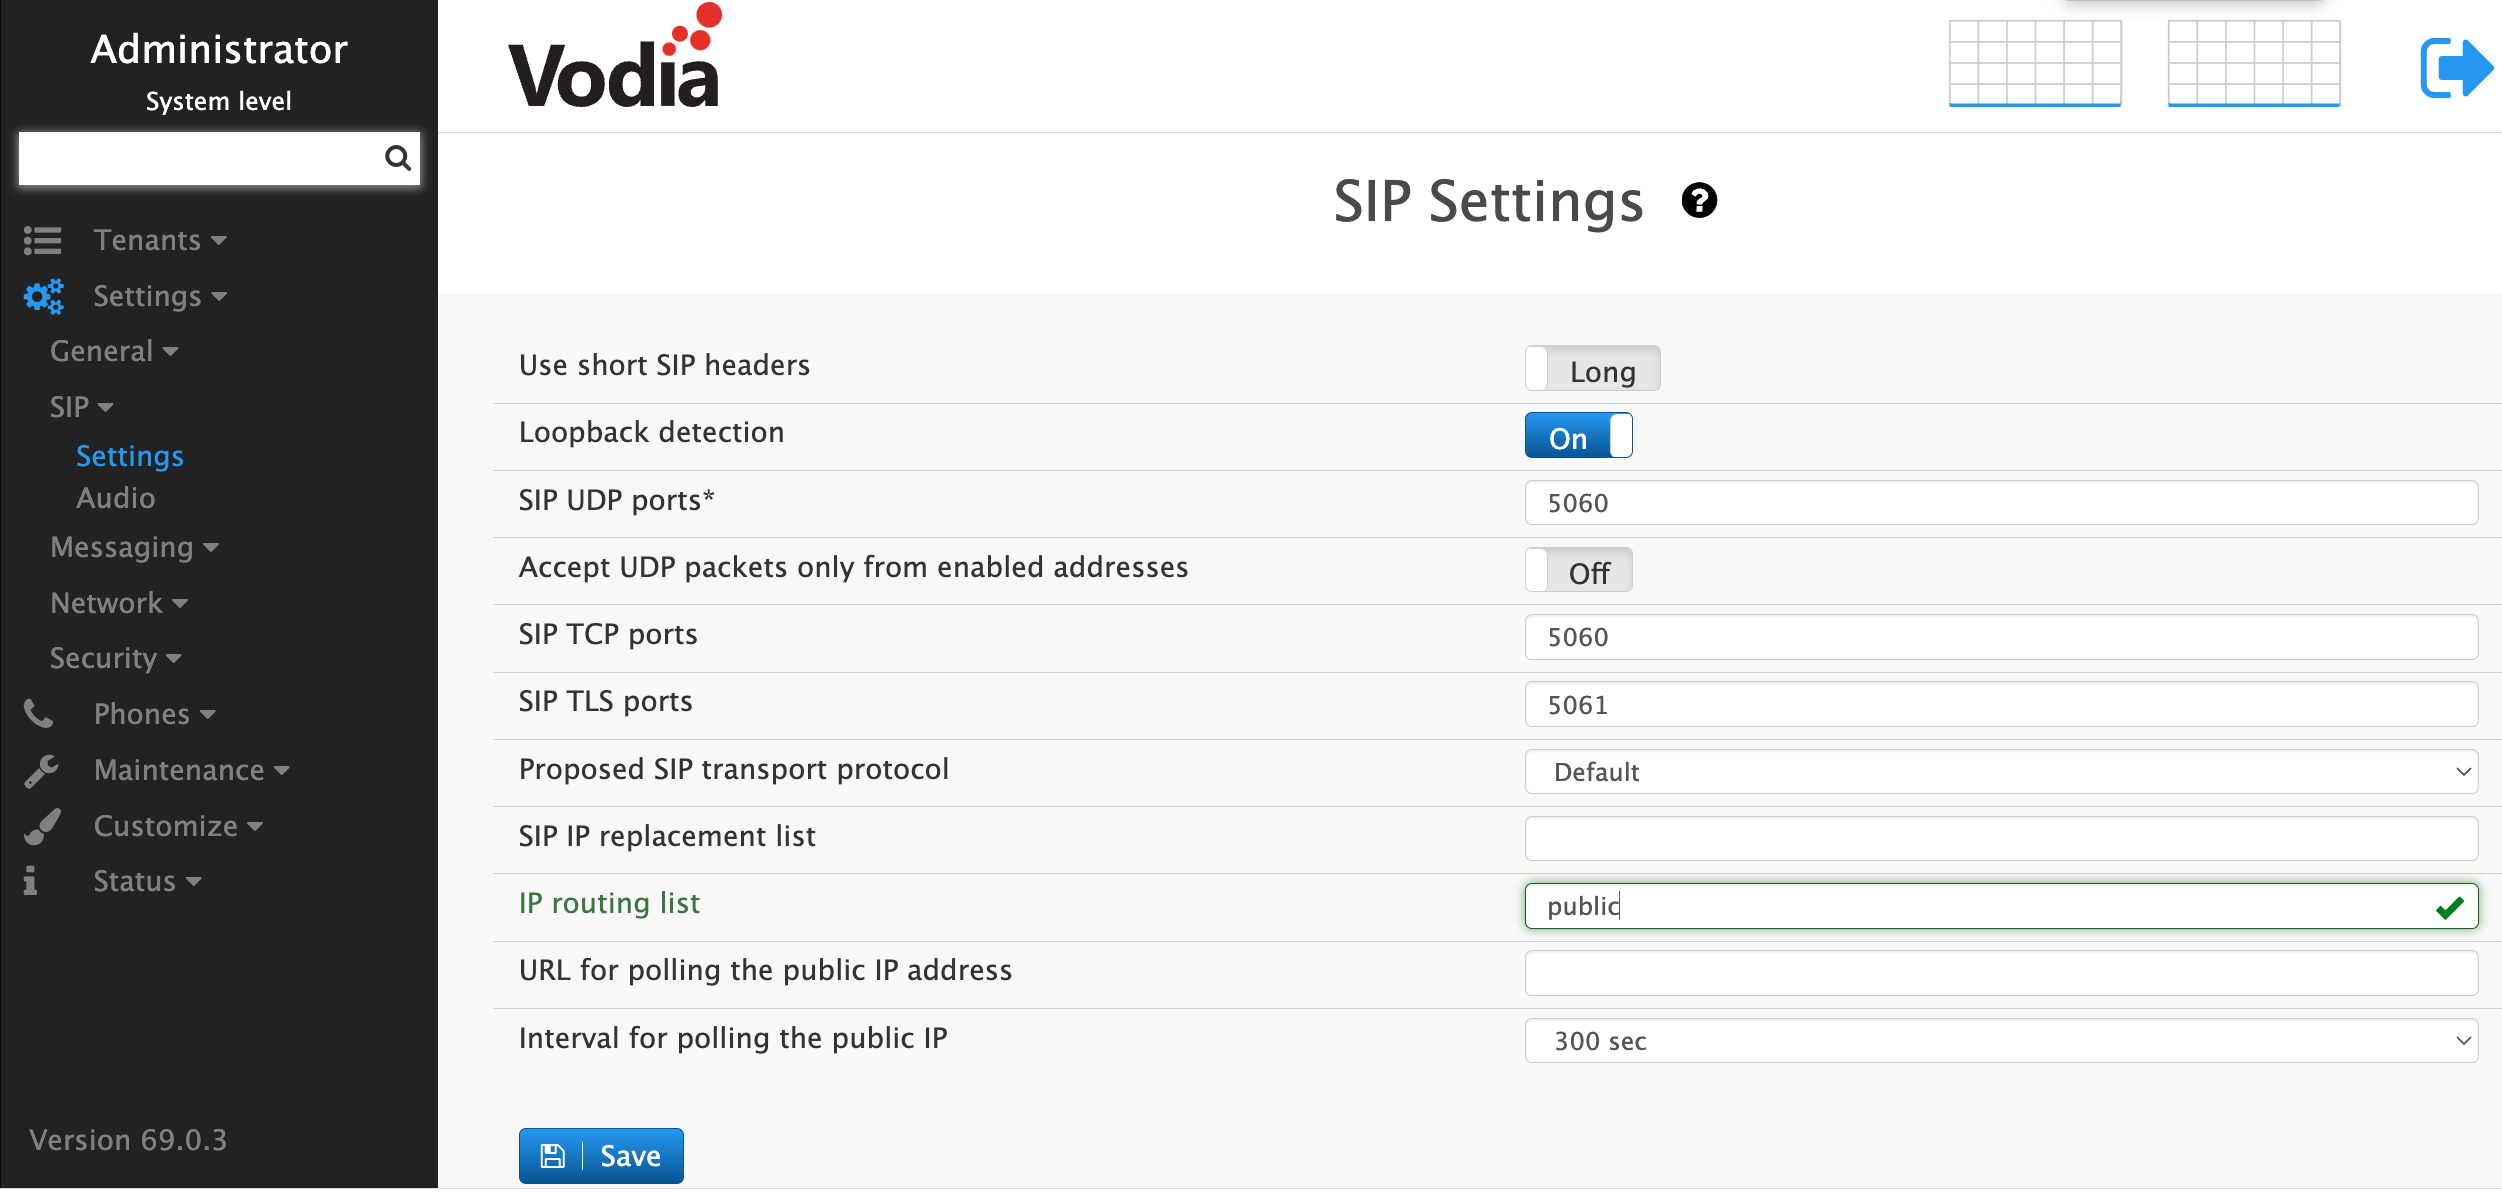
Vodia session border controller
Let's take care of the audio settings, Vodia SBC is built into the software already, to activate this setting, navigate to SIP > Settings under [IP routing list] and set it to "public" all lowercase, this will instruct Vodia to use your EC2 IPV4 public IP, also for most of you already familiar with AWS EC2, it's important to have an Elastic IP address for your instance as well, here's
Here's how https://docs.aws.amazon.com/AWSEC2/latest/UserGuide/elastic-ip-addresses-eip.html
Create your first Tenant
Create your first Account
Create your first Auto Attendant
Create your first Ring group
Create your first Trunk
More useful links below
You can visit our youtube channel for more helpful tutorials https://www.youtube.com/@vodianetworks2440
Join our community at https://forum.vodia.com/
Need help? open a ticket with us at https://support.vodia.com/#dashboard