Yealink Provisioning With Vodia PBX

In this article, we will cover provisioning your Yealink phone with Vodia's zero-touch plug and play.
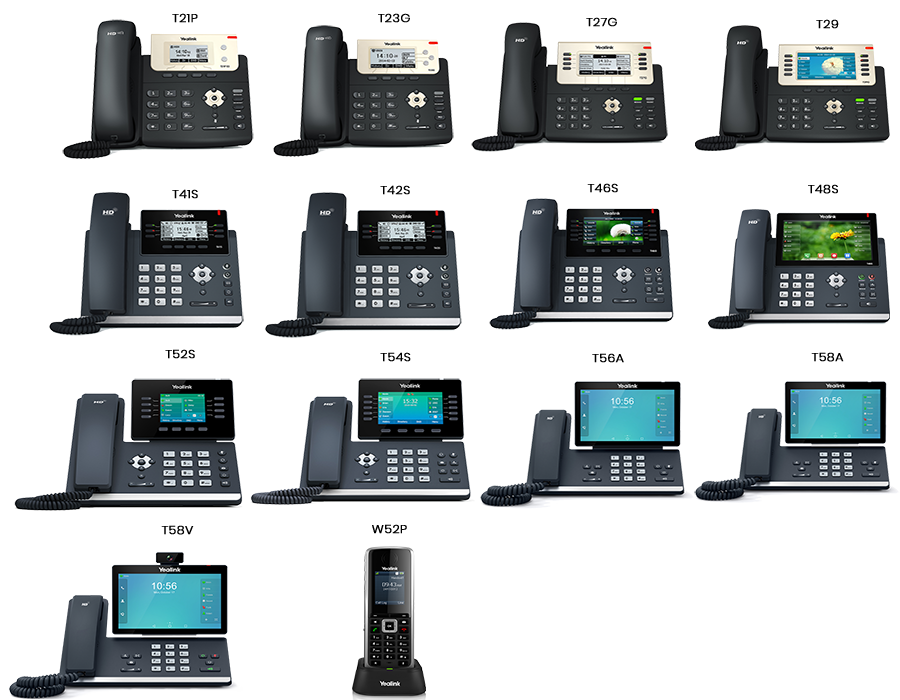
Supported Yealink models: T21P
T19P, T21P, T23G, T27G, T27P, T28P, T29G, T32G, T40G, T40P, T41P, T41S, T42G, T42S, T46G, T46S, T48G, T48S, T52S, T54S, T56, T58,
W41P, W52P, W53P, W56P, W60B, W60P
For a complete step by step guide to provision the Yealink desktop phones for use with Vodia PBX, see the general configuration guides of Vodia PBX at https://doc.vodia.com/pnp_yealink
Vodia PBX supports the following provisioning methods.
-
LAN Provisioning
-
Manual Provisioning
-
RPS Provisioning
-
Option 66
We will discuss only LAN provisioning on this article.
LAN Provisioning
LAN Provisioning is the simplest way to get your Yealink phone configured with the Vodia PBX.
Before provisioning your devices check out https://doc.vodia.com/pnp_prerequisite_steps
Reset your Yealink phone to factory default by pressing the "OK" on your phone until you see "“Reset to factory settings?” appear. "Confirm" to reset.
After the phone has rebooted to factory default, the phone will be ready for provisioning.
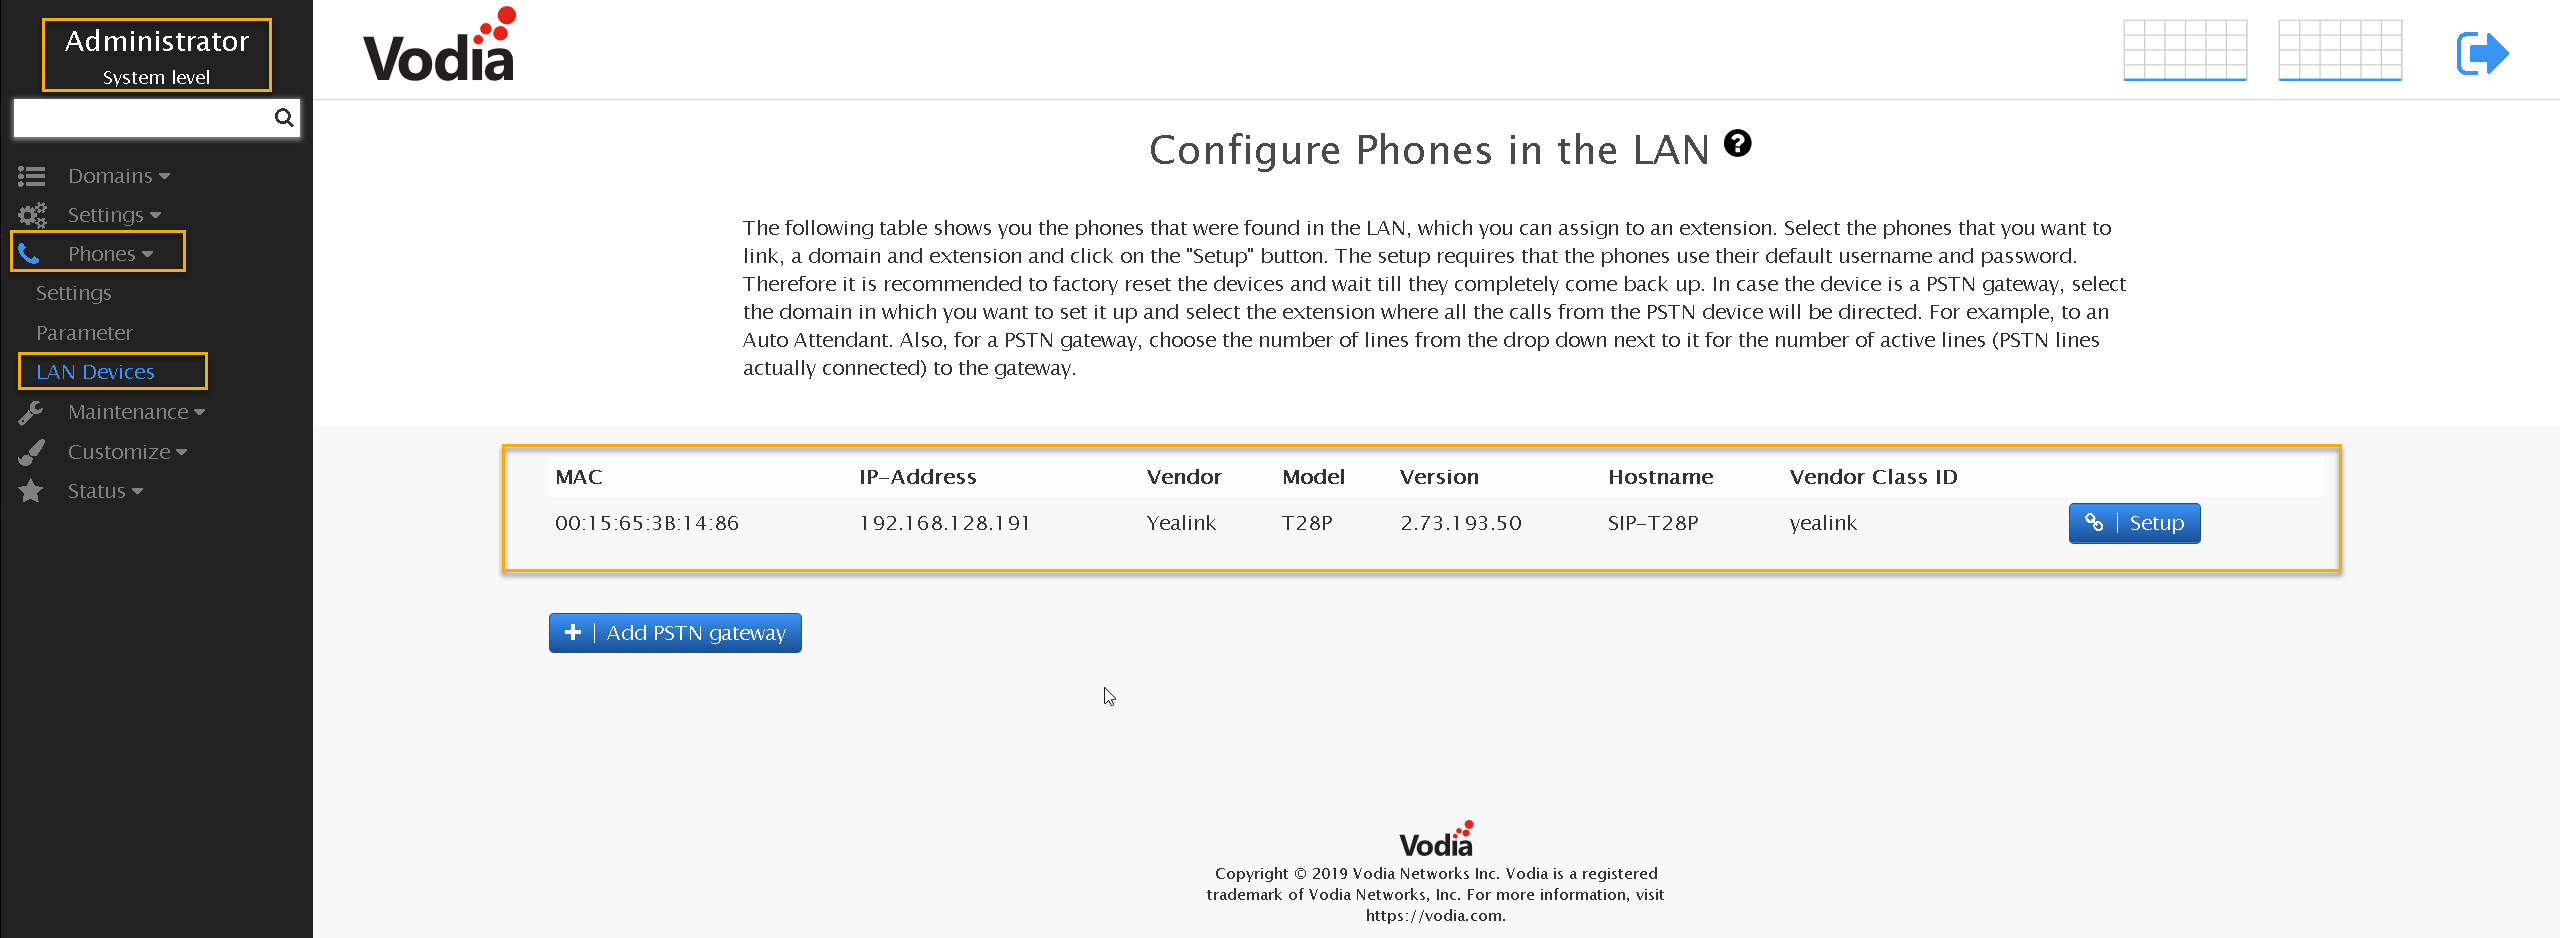
Switch to Admin mode on your Vodia PBX ---> navigate to Phones ----> LAN Devices

Vodia PBX has already scanned the network for your Yealink devices after factory default and will show the available units on the LAN device page. The following information will be shown to you.
- Mac address
- Device IP
- Vendor type
- Model
- Firmware version
- Hostname
- Vendor Class ID
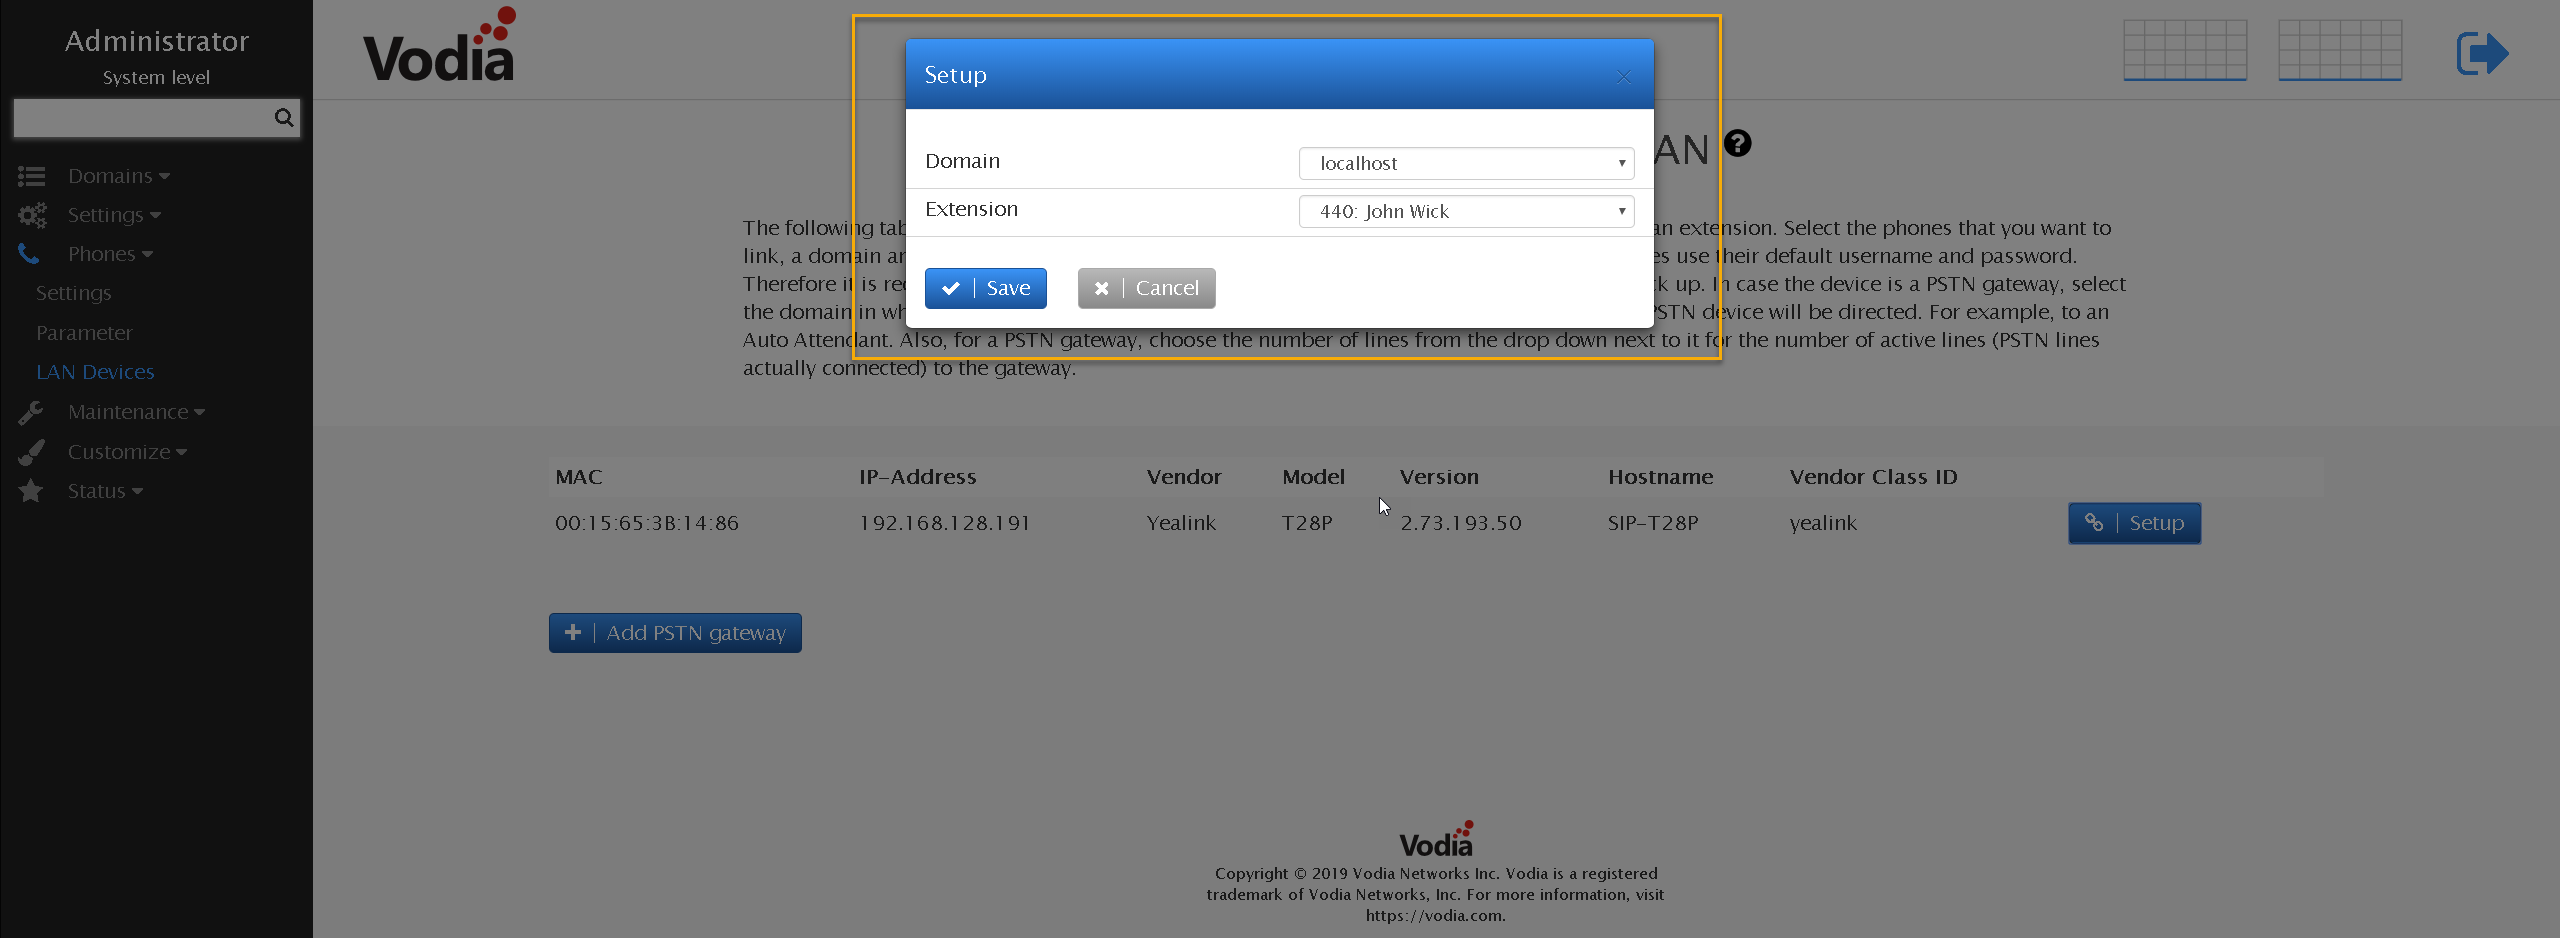
Click on the Setup button to configure the unit, you will see a dialog box that will pop up and display the available extensions you can pair the phone too. Once you have chosen an extension on the system, the Yealink phone will reboot and register to the extension. To configure the Yealink line keys and expansion boards, follow these instructions https://doc.vodia.com/buttons


