QuestBlue SIP Trunk Registrtion and how to configure it on the Vodia PBX

Here's howto set up QB SIP registration trunk
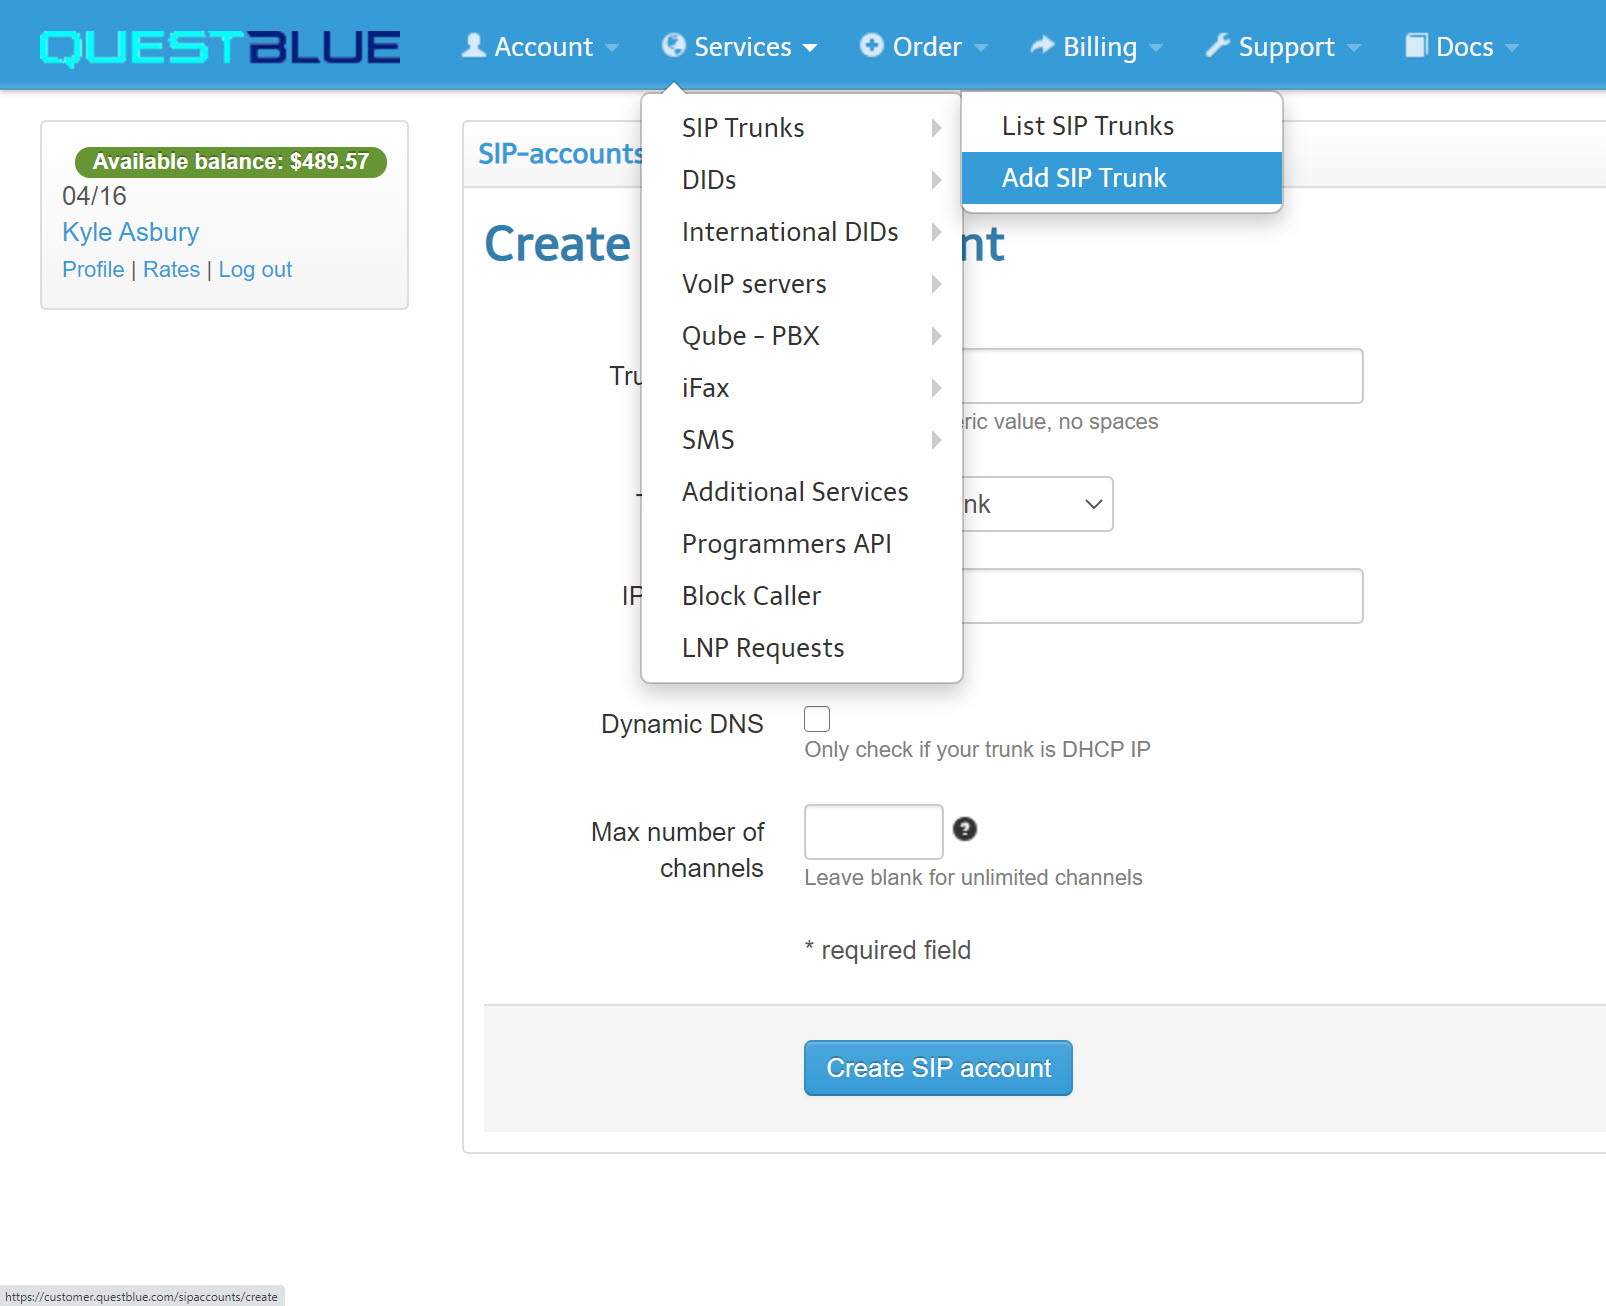
Login in to your QB account and navigate to Services -----> SIP Trunks ----> Add SIP Trunk

Creating your SIP registration trunk
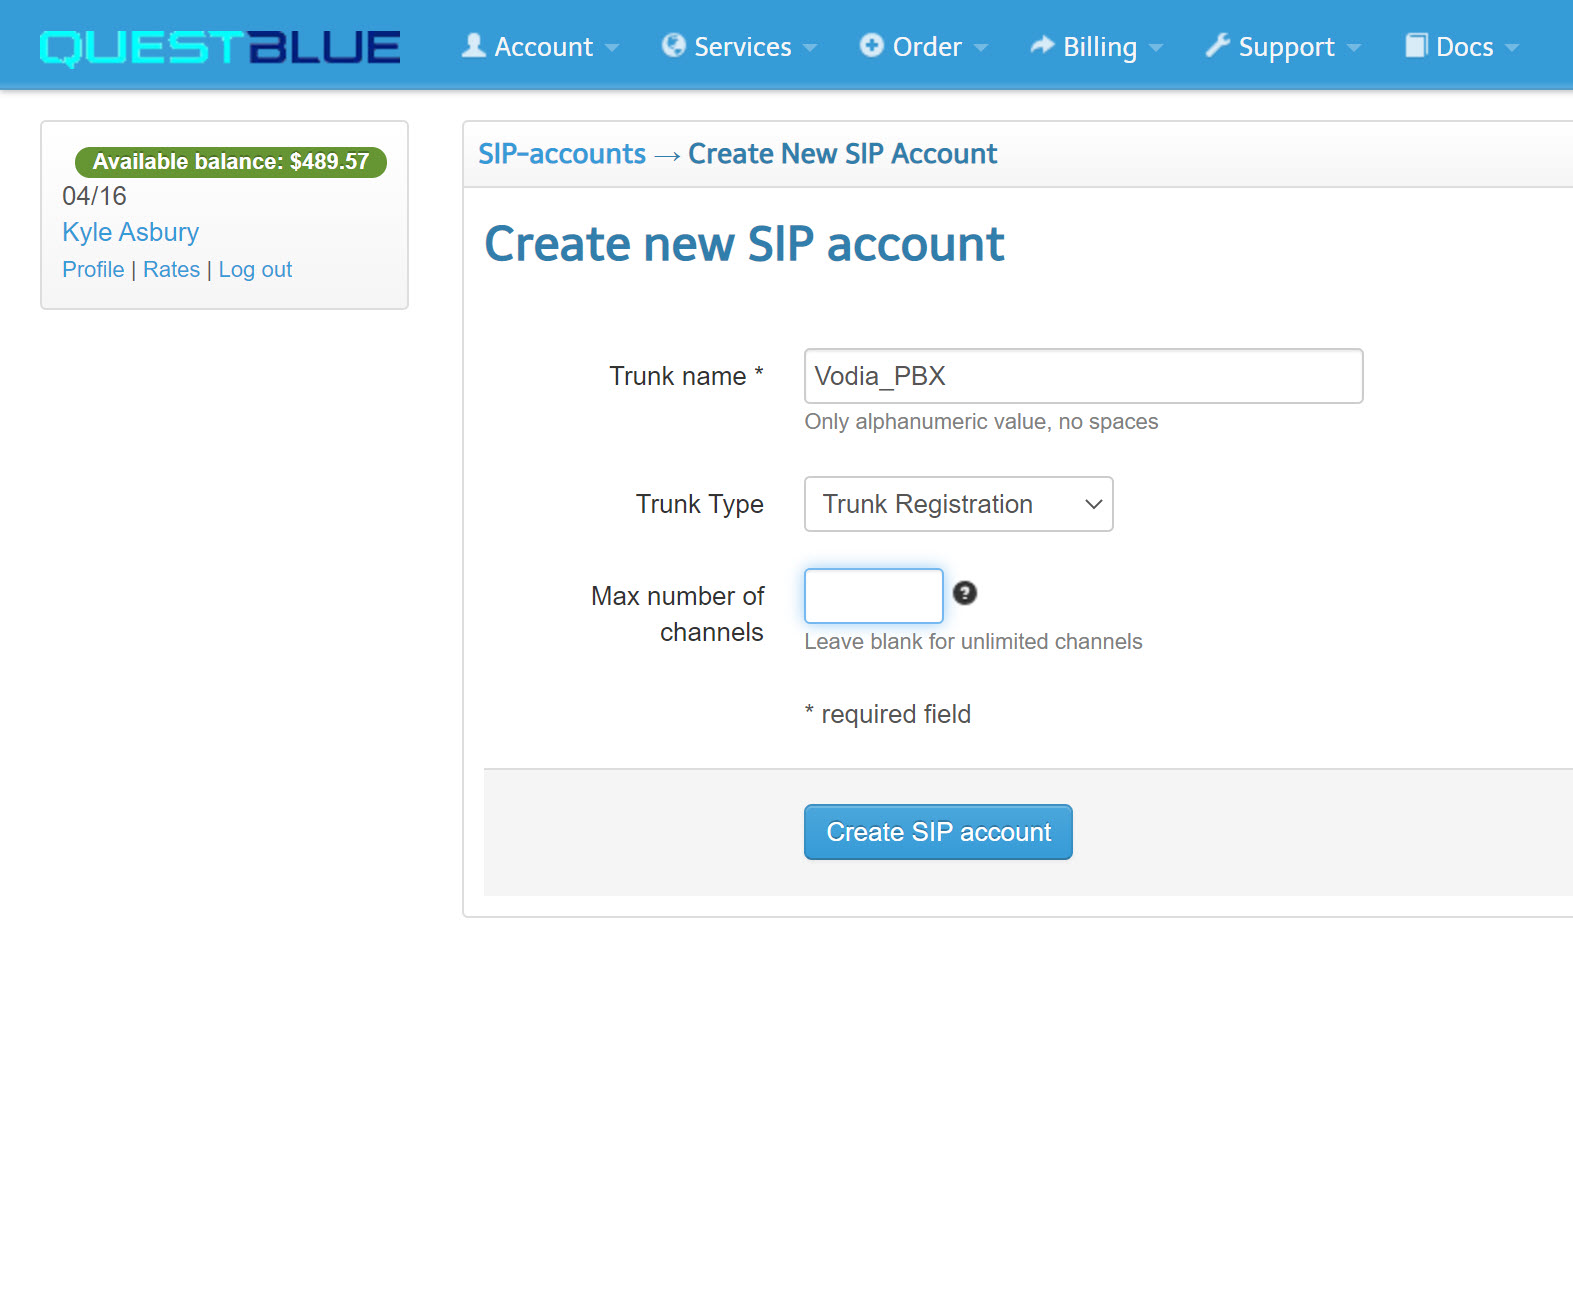
Next, you will create a new SIP account.
- Trunk name: This will be the user account
- Trunk Type: Choose Trunk Registration NOTE: If you don't see trunk registration, open a ticket with QB on your portal and request it to be added to your account
- Max number of channels: Level blank or add how many channels this trunk will have.
💎 You can also assign a DID number to this registration account for inbound calls to the Vodia phone system.
Press and Create the SIP account

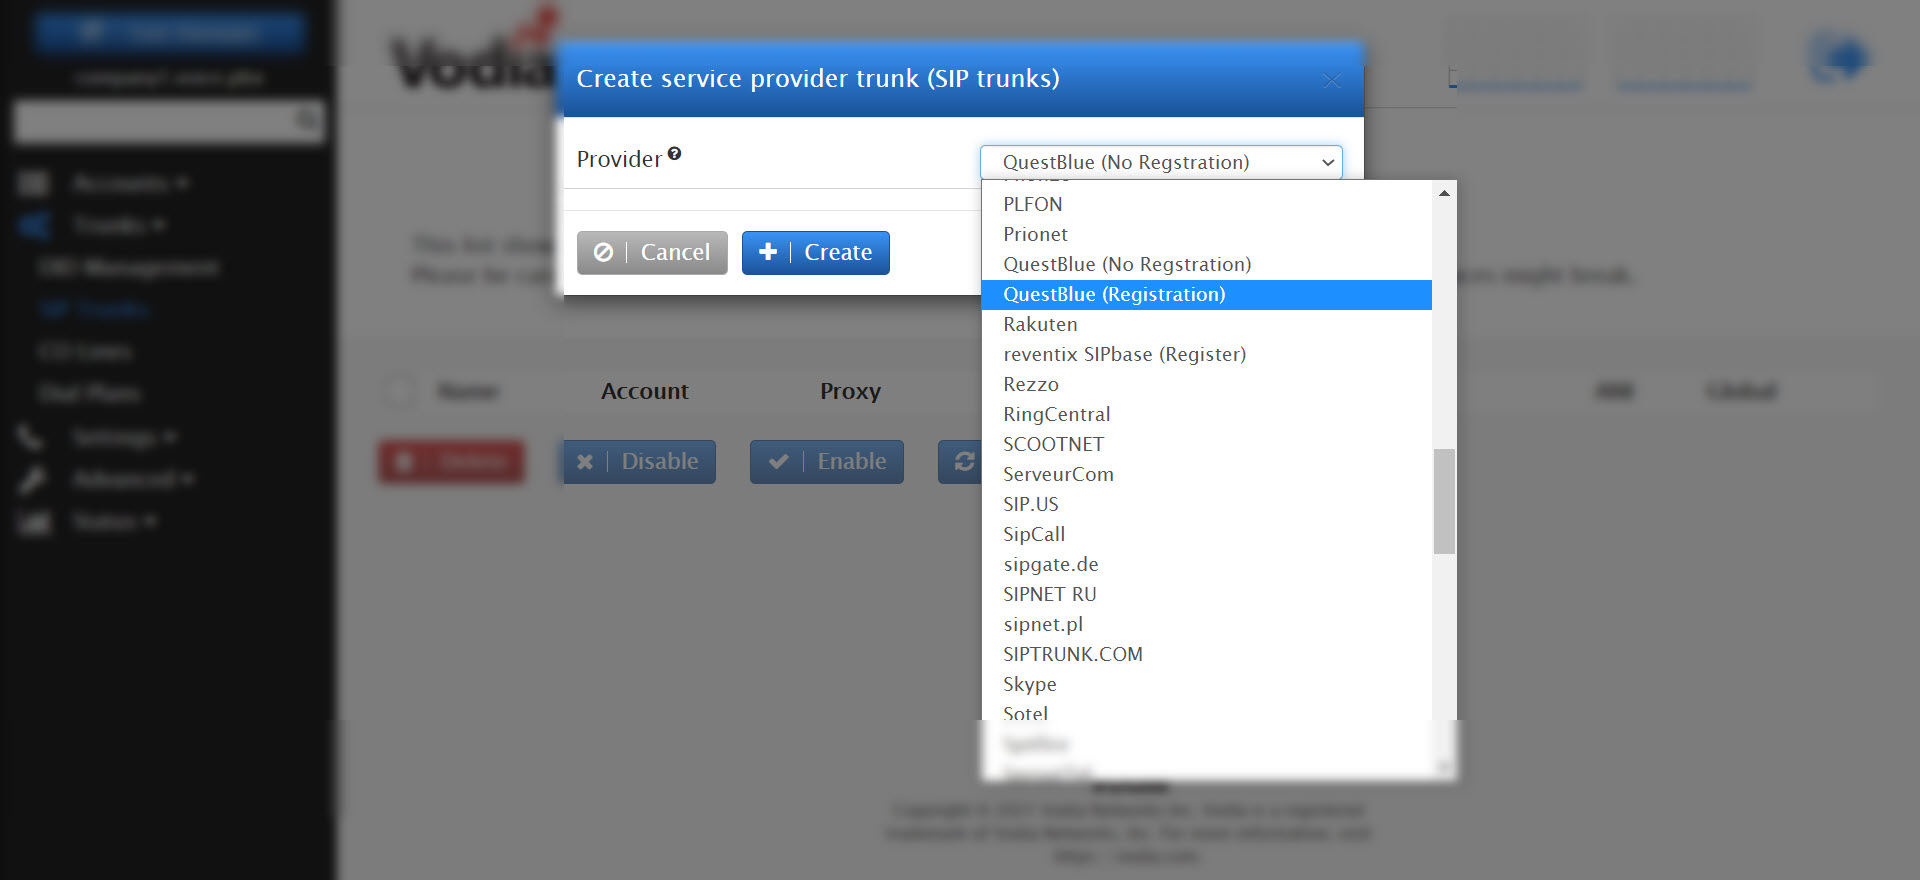
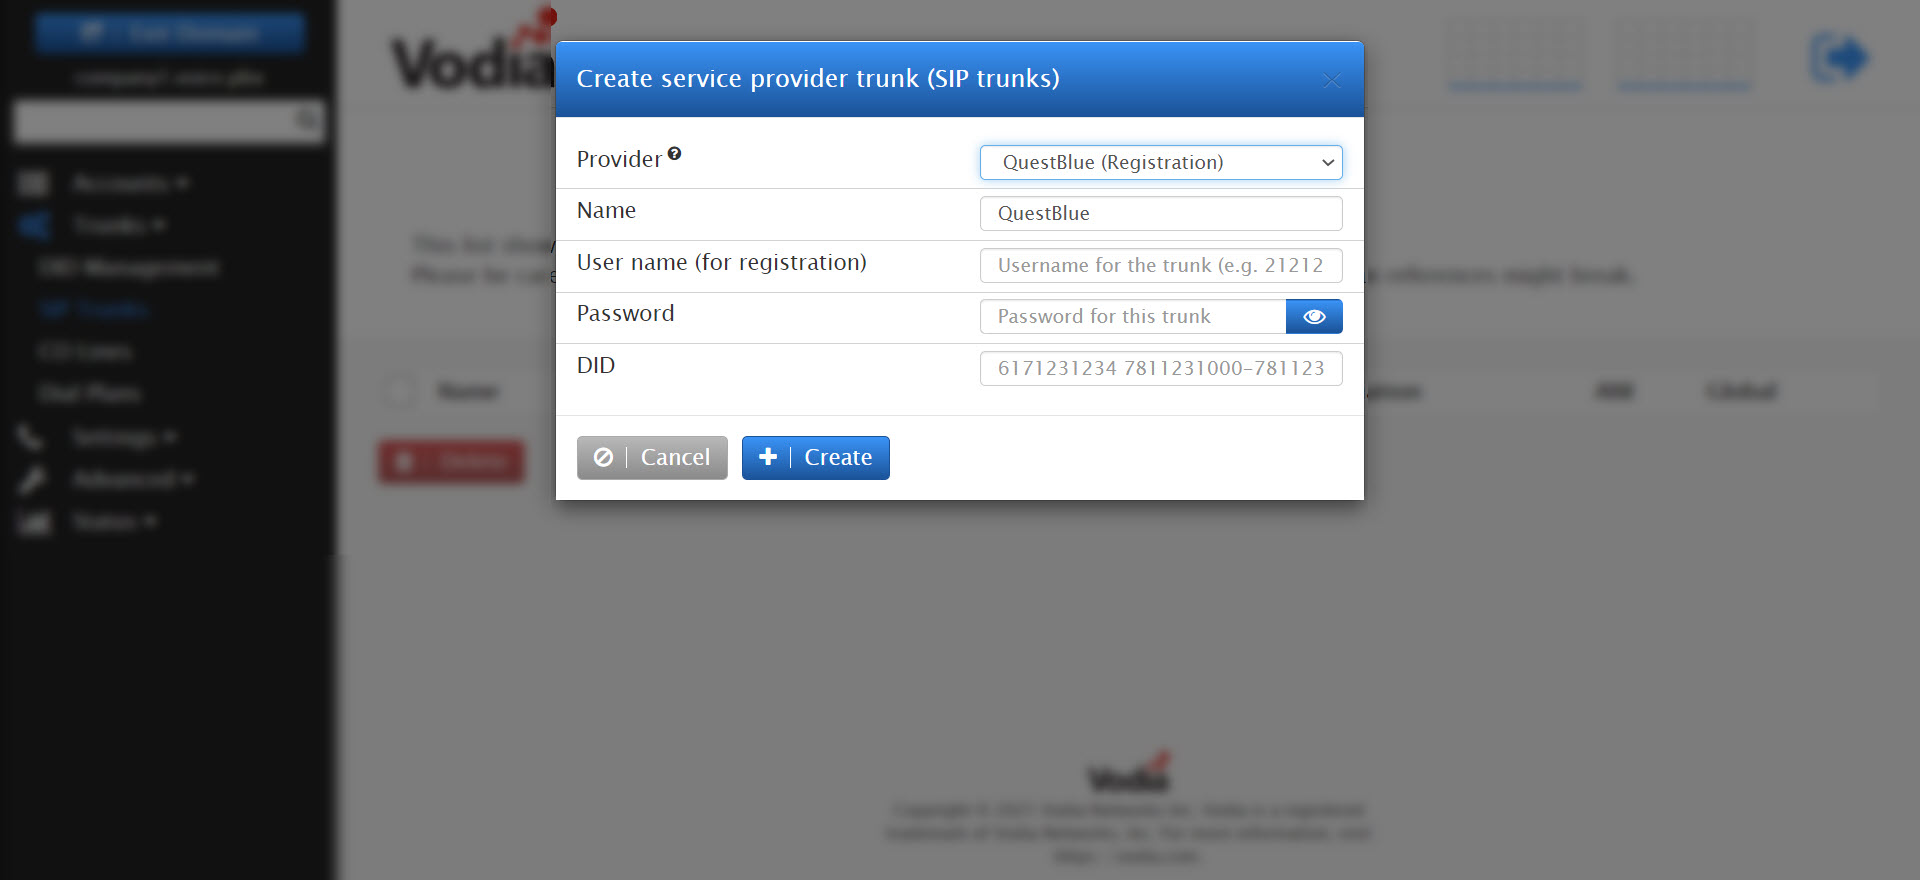
Next, let's go to the list of SIP trunks providers under Trunks, there you will see the QuestBlue SIP registration option, enter your user and password credentials from your registration account.

Enter your user name and password from your QuestBlue account then save. A phone number or Direct Inward Dialing number (DID) can be assigned to an account where the phone or Vodia App will ring. To learn more please visit https://doc.vodia.com/docs/did-management

For more info on Questblue SIP trunking services visit QB at https://questblue.com/

