Setting up your Patton SN4141 FXS

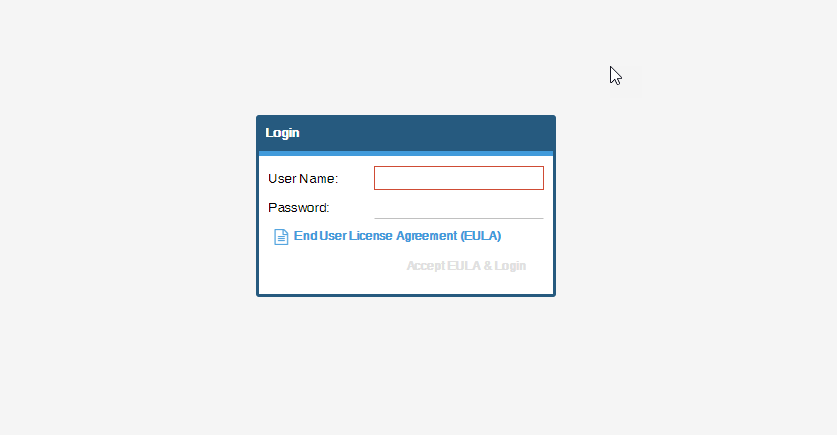
This article will show you how to set up your Patton SN4141 FXS device. To start you will need to login to your Patton device.
The default user is admin and no password.

Create extensions on the Vodia PBX
- Create two extensions on your Vodia PBX and assign a SIP password to both.
- The new extension will be used to configure the FXS ports on the Patton device

Patton Wizard
You will need to signup or login into your Patton account and navigate to https://www.patton.com/wizard/
Under the product search function type in your model, For this tutorial, I am using the following: SN4141
Choose the following wizard Trinity 1-8 port FXS SmartNode with SIP Registration and run the Wizard.
Wizard setup
Enter the password for your device.

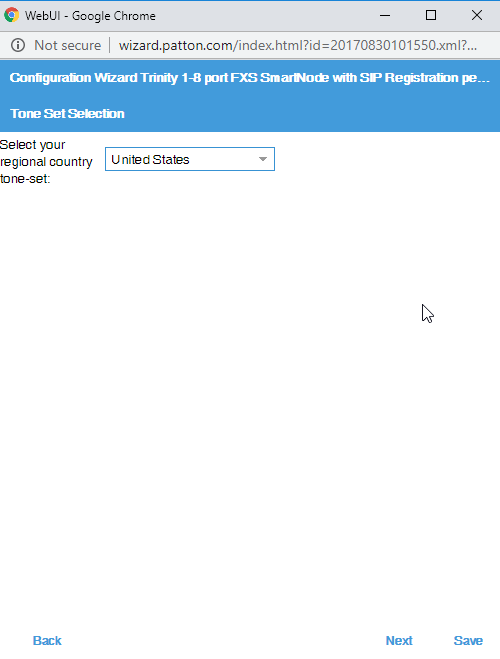
Country selection

Number of FXS ports & SIP Server IP Address
For this article, I am using two FXS ports. If you have more than one FXS port you can choose in this section.
- Enter your PBX IP address

SIP Server SIP Settings
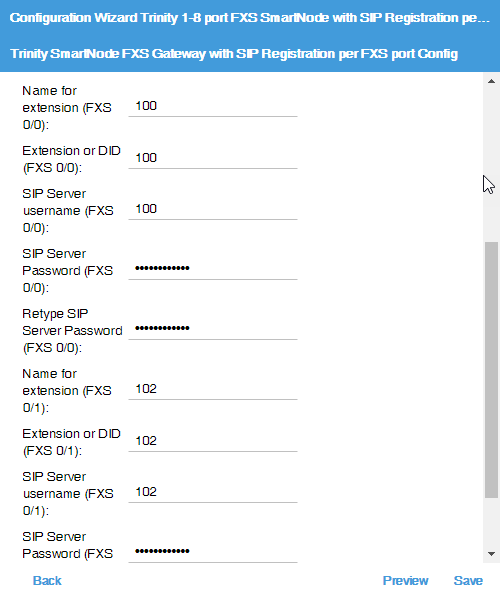
In this section, you will enter the following for (FXS 0/0)
- Name of extension (FXS 0/0) is the extension account created on the PBX
- Extension or DID (FXS 0/0) is the extension account created on the PBX
- SIP Server username (FXS 0/0) is the extension account created on the PBX
- SIP Server Password (FXS 0/0) is the extension SIP password
- Retype SIP Server password
In this section, you will enter the following for (FXS 0/1)
- Name of extension (FXS 0/1) is the extension account created on the PBX
- Extension or DID (FXS 0/1) is the extension account created on the PBX
- SIP Server username (FXS 0/1) is the extension account created on the PBX
- SIP Server Password (FXS 0/1) is the extension SIP password
- Retype SIP Server password
Save the configuration, we will need this file to upload it to the Patton device.

Uploading the Patton configuration file
Login into your Patton device with user admin and no password, If the password was provided in the .cfg file, then you will enter that password after your a reboot the unit.
Navigate to the right-hand panel and choose System ---> Configuration Files

Upload your configuration file
Browse and upload your configuration file, Save as startup-config and press OK.
Reboot the device

Status Registrations
Now that your Patton is running the new start config file we will need to verify if the FXS ports are registered to the PBX.
Navigate to All account --- Extensions and check the status for registration. If the ports are registered congrats! if not visit us at https://doc.vodia.com/admin_logging ;)


